My New Desktop

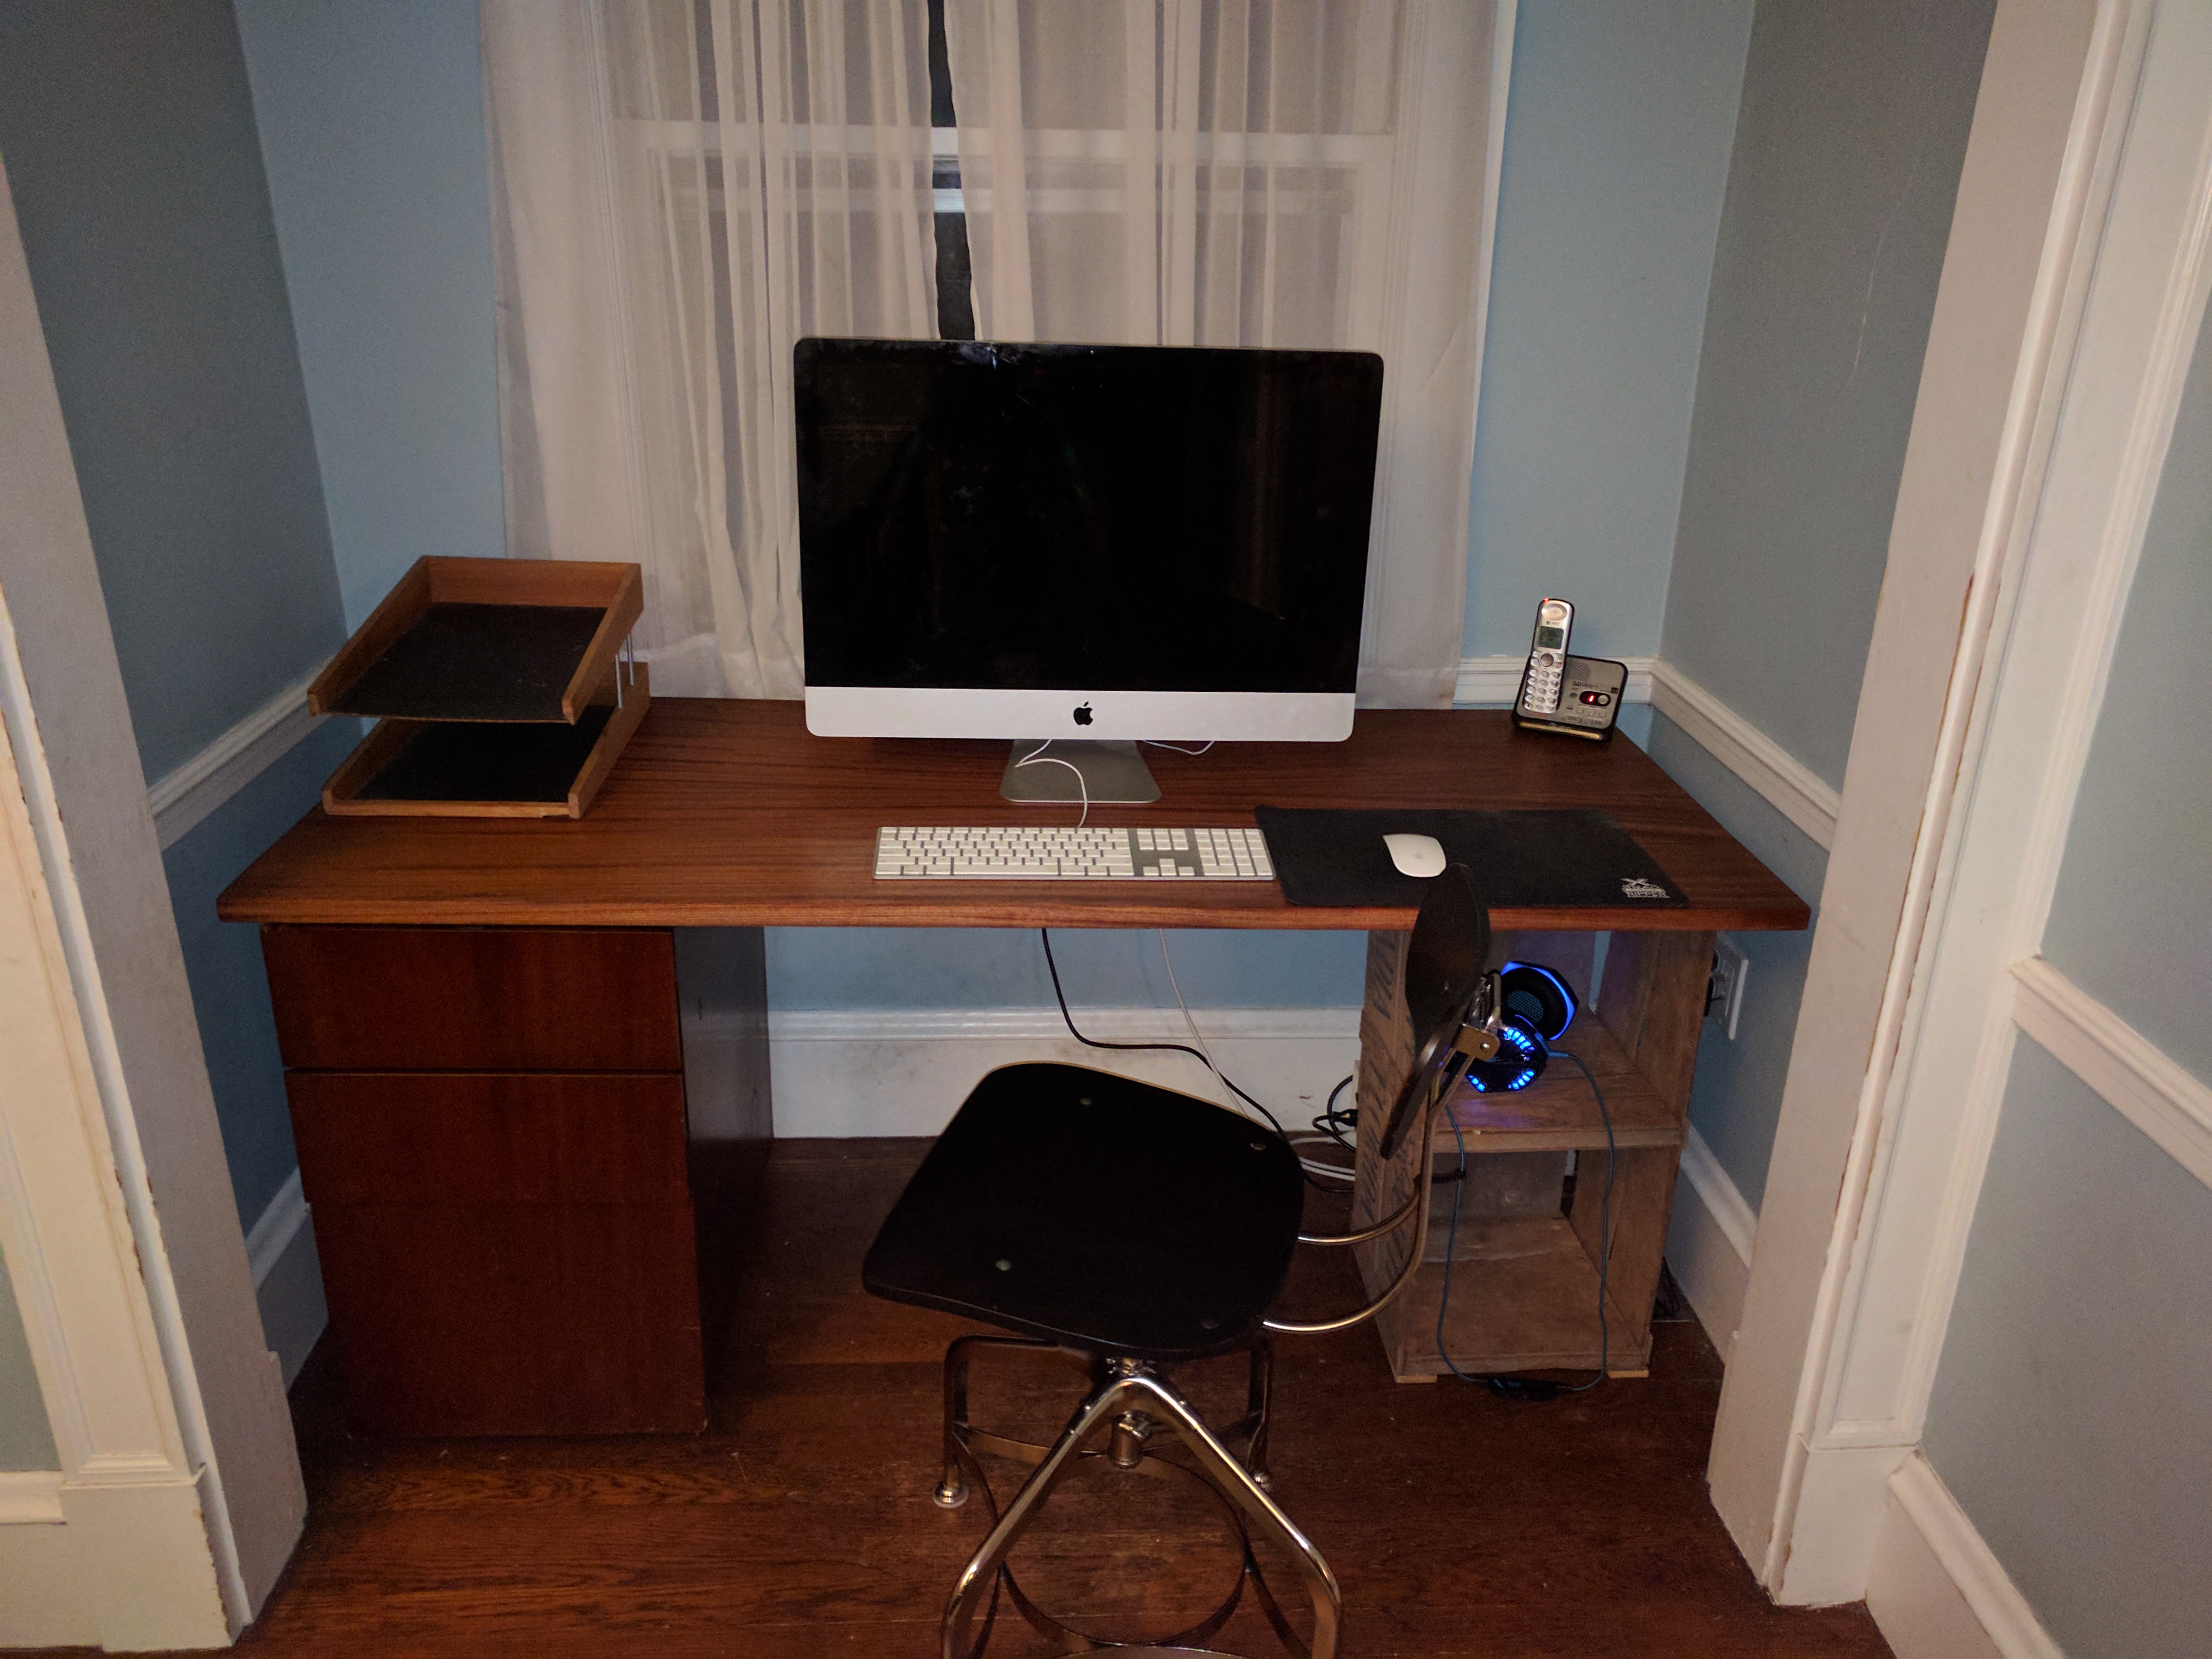
Shoot! I should have taken a pic before I replaced the old desktop. Welp? The old desktop was a tiny sewing table that I found on the side of the road. It worked but it was too small and wicked tall!

The new desktop was made of resawn (a woodworking term) sapele (a species of wood known colloquially as “African Mahogany”), an old file cabinet and a orange crate from the mid century.

Fun to have a nice, clean platform on which to compute.

In future posts, I will upgrade my 5 year old iMac to a brand new Windows 10 pc with a curved monitor and the Microsoft Sculpt keyboard and mouse suite.

Along the way, I’d like to “design” a way to handle the -> right side so that the hardware is discreet, yet accessible.

Post any thoughts in the comments section:)


Switching my task manager: a comparison of two tools

For years now, I have been using “Remember the Milk” to manage my list of tasks. It’s a good program, but if you don’t pay the premium theme it only allows one refresh per day on mobile. As a result, it’s hard to use.

After reading a great review, I switched to todoist.

It’s been a week now and I am really liking it. I am using it as a desktop program) rather than having it in a browser tab and it is also running as an add-on to gmail and I have it installed in my phone.

There are two paradigms that emerge as I use the program:

  1. “Inbox Zero” is a concept that has been around a while. This program makes it easier to move away from the inbox as a list of things that need to get done.
  2. Making and completing tasks is a game. I get points for doing it. Some methods:
    *if an email is immediately actionable, just do it and archive it
    *if it will take some time, create a task for it in the Inbox
    *if there are several steps in completing the work, make a project for it and list out the tasks within the project

Todoist is a pay-for-premium service with some extra features for premium users. One that could be useful is task notes. For now, I am using it free and am linking to evernotes for note-taking


Deploy Dev Scotch Box with Vagrant

This may be the easiest way to setup a dev LAMP box on a Mac.

  1. See if Vagrant is installed. From the command line, type “vagrant -v”. If things are correctly installed the Vagrant version will be returned.
  2. Create a folder in your home directory to hold the VM. I will call my folder “scotchbox”.
  3. Navigate to scotchbox’s parent directory and clone the box from github using this command ”

    git clone https://github.com/scotch-io/scotch-box.git scotchbox”

  4. cd scotchbox
  5. vagrant up (should take around 10 minutes)

Once it’s up, it should function at this address:

http://192.168.33.10/

and the files that are being served live in scotchbox/public

This is pretty easy.


New Web Development Workflow

I have had the long-standing habit of working alone, without version control. While many have scolded my workflow, it has been fast and mostly problem free. However, it’s time to change it and while there is a lot to learn in the version control and virtual machine space, actually setting up a dev box with git should be pretty quick (or so they say). So here goes: my notes on how to setup drupal and start theming a site, using git manage versions of the theme.

  1. install virtual box;
  2. download ubuntu server 14.04;
  3. using virtual box, create an ubuntu LAMP VM;
  4. configure port forwarding on the vm for mysql and ssh;
  5. start the vm from the CLI by issuing this command:

    VBoxManage startvm ubuntu –type=headless

  6. connecting to mysql from the host system requires a different bind_address. change bind_address in /etc/mysql/my.cnf to 0.0.0.0 and restart mysql
  7. create a database for drupal by logging into your vm, connecting to mysql and issuing these commands (note: ignore curly quotes):
    CREATE USER ‘user’@’localhost’ IDENTIFIED BY ”; //put password in the ”
    GRANT ALL PRIVILEGES ON *.* TO ‘user’@’localhost’ WITH GRANT OPTION;
    CREATE USER ‘user’@’%’ IDENTIFIED BY ”; //put password in the ”
    GRANT ALL PRIVILEGES ON *.* TO ‘user’@’%’ WITH GRANT OPTION;
  8. CREATE DATABASE dev;
  9. create a folder (“dev”) to hold drupal and download drupal into it
  10. configure drupal to use the mysql server in your vm. this involves copying sites/default/default.settings.php to settings.php and setting the permissions for the file;
  11. navigate to dev folder in CLI and issue this command:

    php -S localhost:8000

  12. visit http://localhost:8000/ in a web browser to test that php is running and to setup the drupal service;
  13. choose the theme that you will customize and do some theming;
  14. create a repository to hold the theme and commit your local code to git.