I wanted a place to make bread and pizza dough, pie crust, cinnamon bread, biscuits and pasta. I have a counter in the kitchen but stuff is already there and the counter is really low for my height. Ideally, the space would be somewhat industrial, without being really expensive. There’s something about baking in an existing kitchen that’s frankly annoying. For example, say that I set out to make pasta one day at 3pm. I would scoop flour onto the counter and crack eggs into a well. Wait, what? Where is this empty, clean counter. At my house, the flour would invariably fall down over the counter, where we keep our pots and lids. Not ideal for the freedom to mix flour, eggs, butter, salt and yeast in a space where I could really spread out and not be limited. I also think that certain appliances, like the heavy kitchen aid mixer make a mess in a busy kitchen.
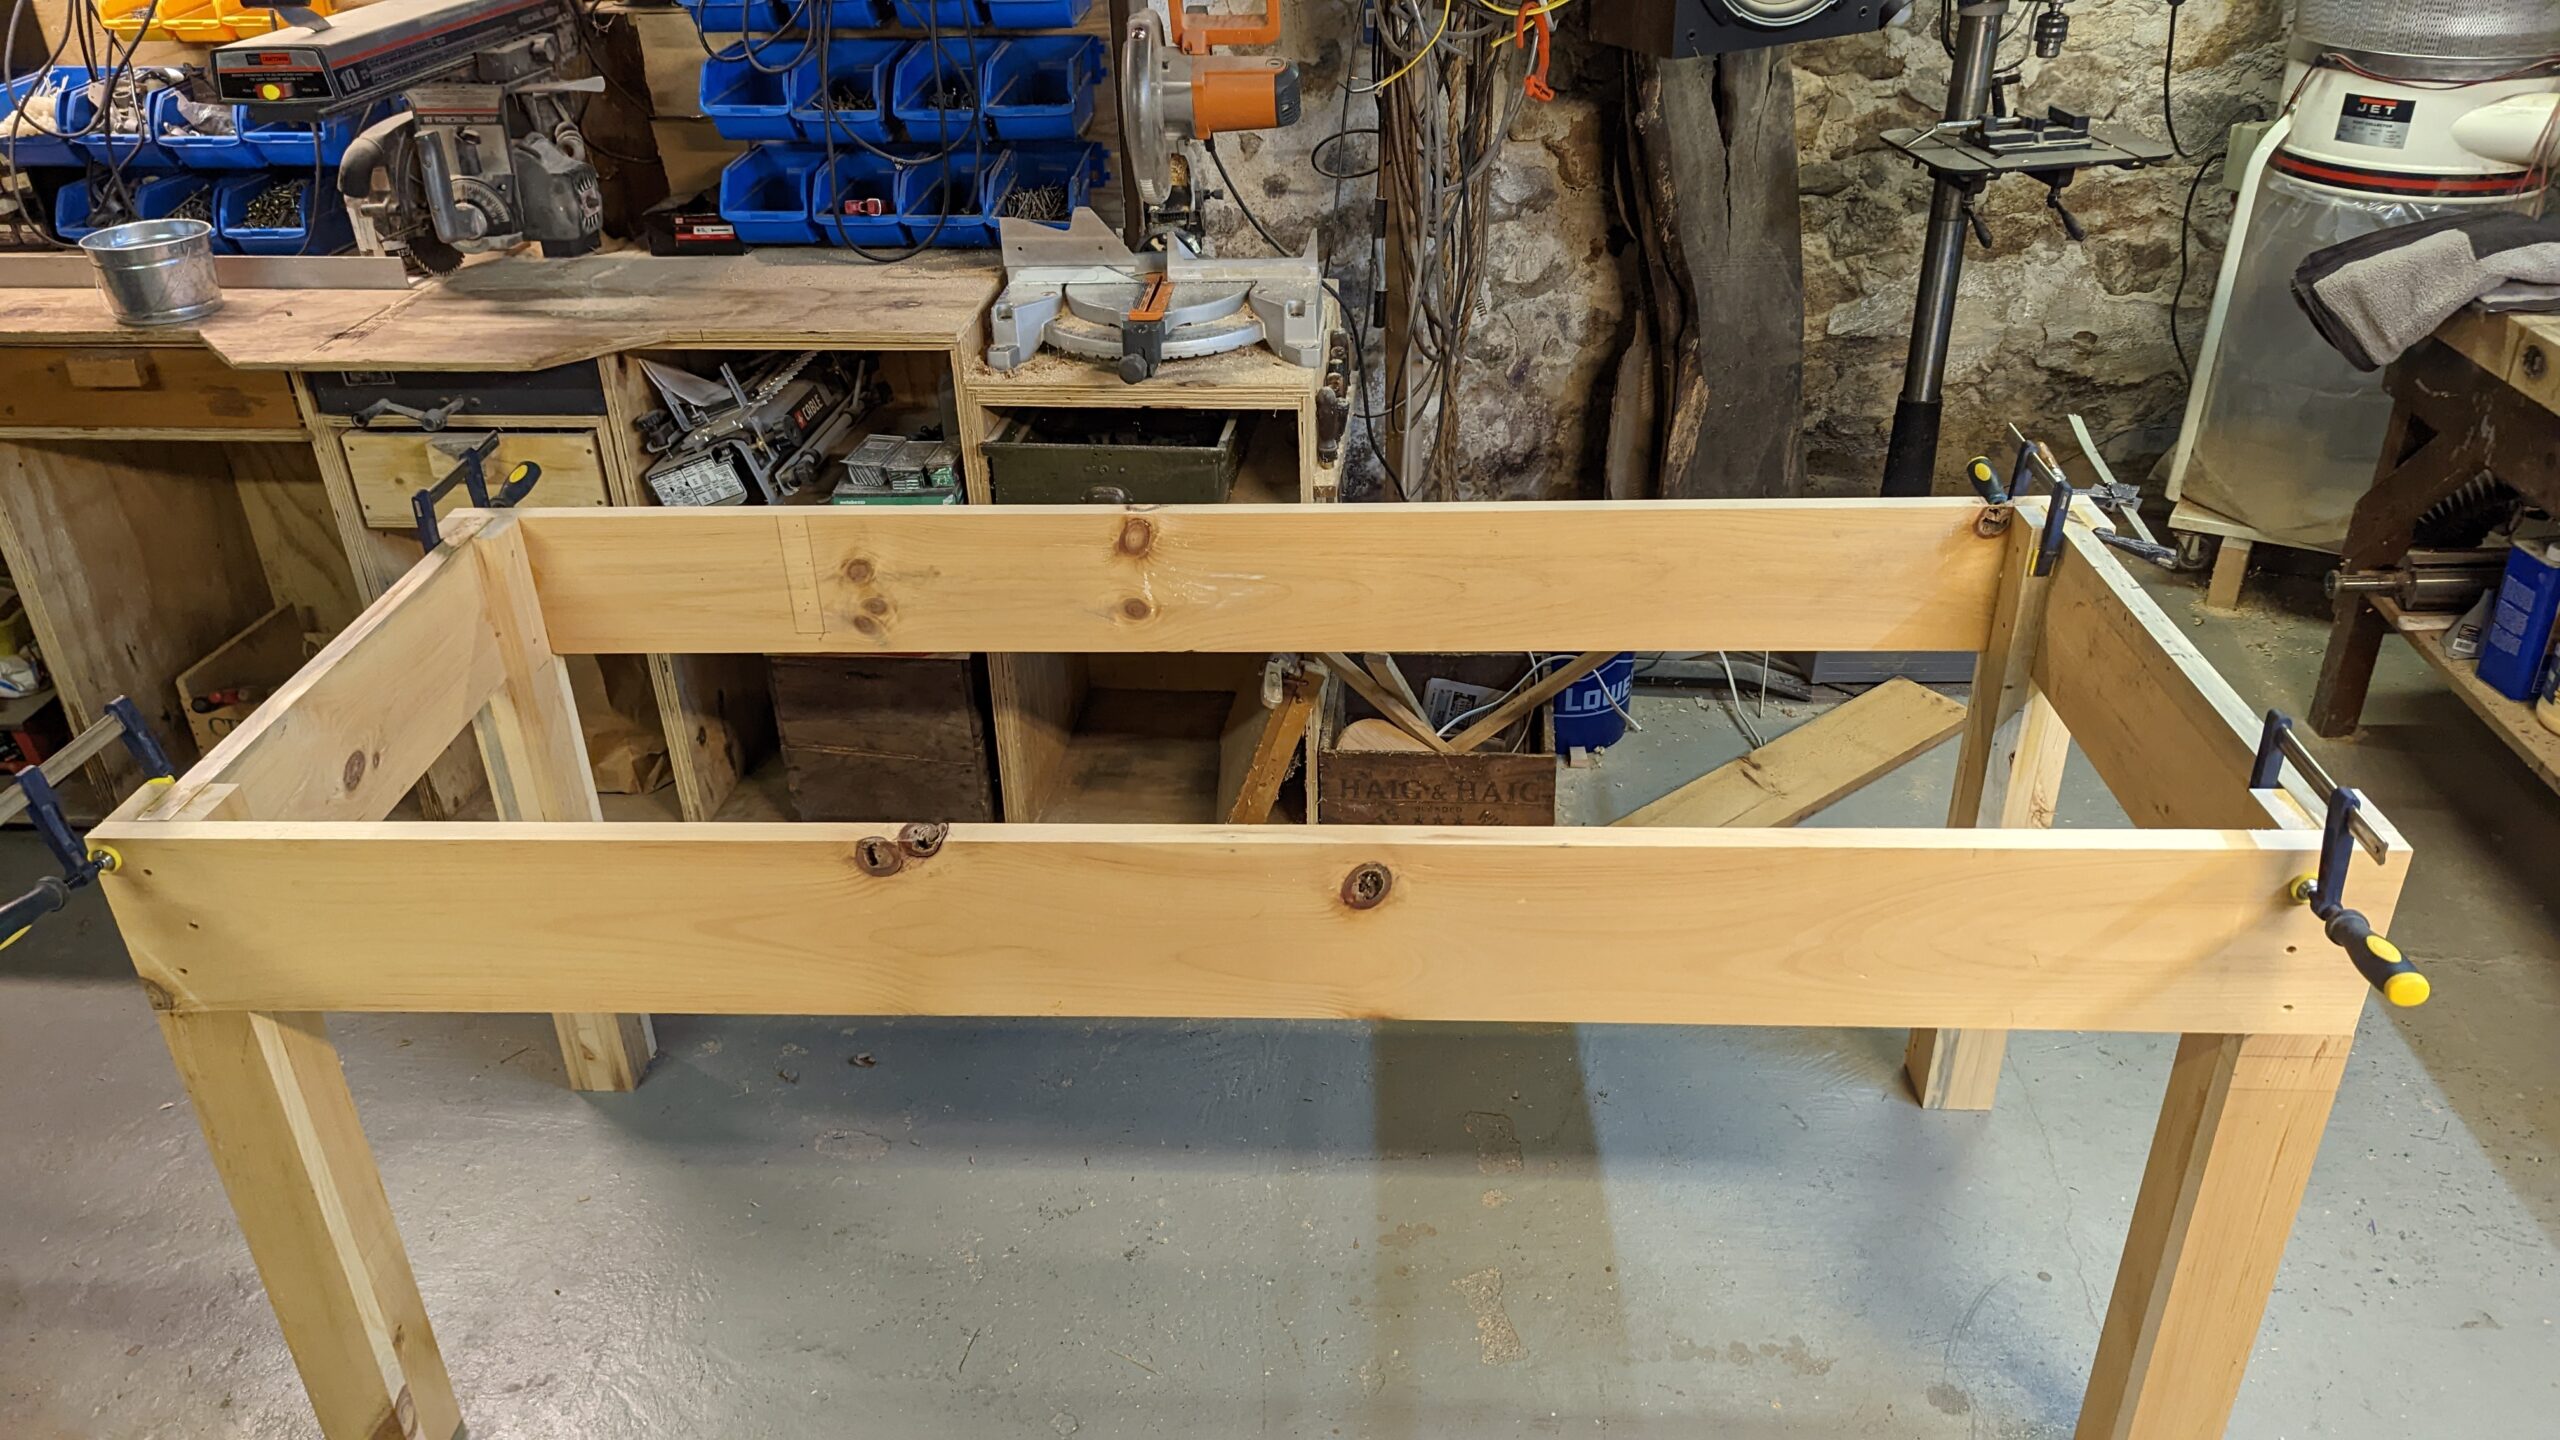
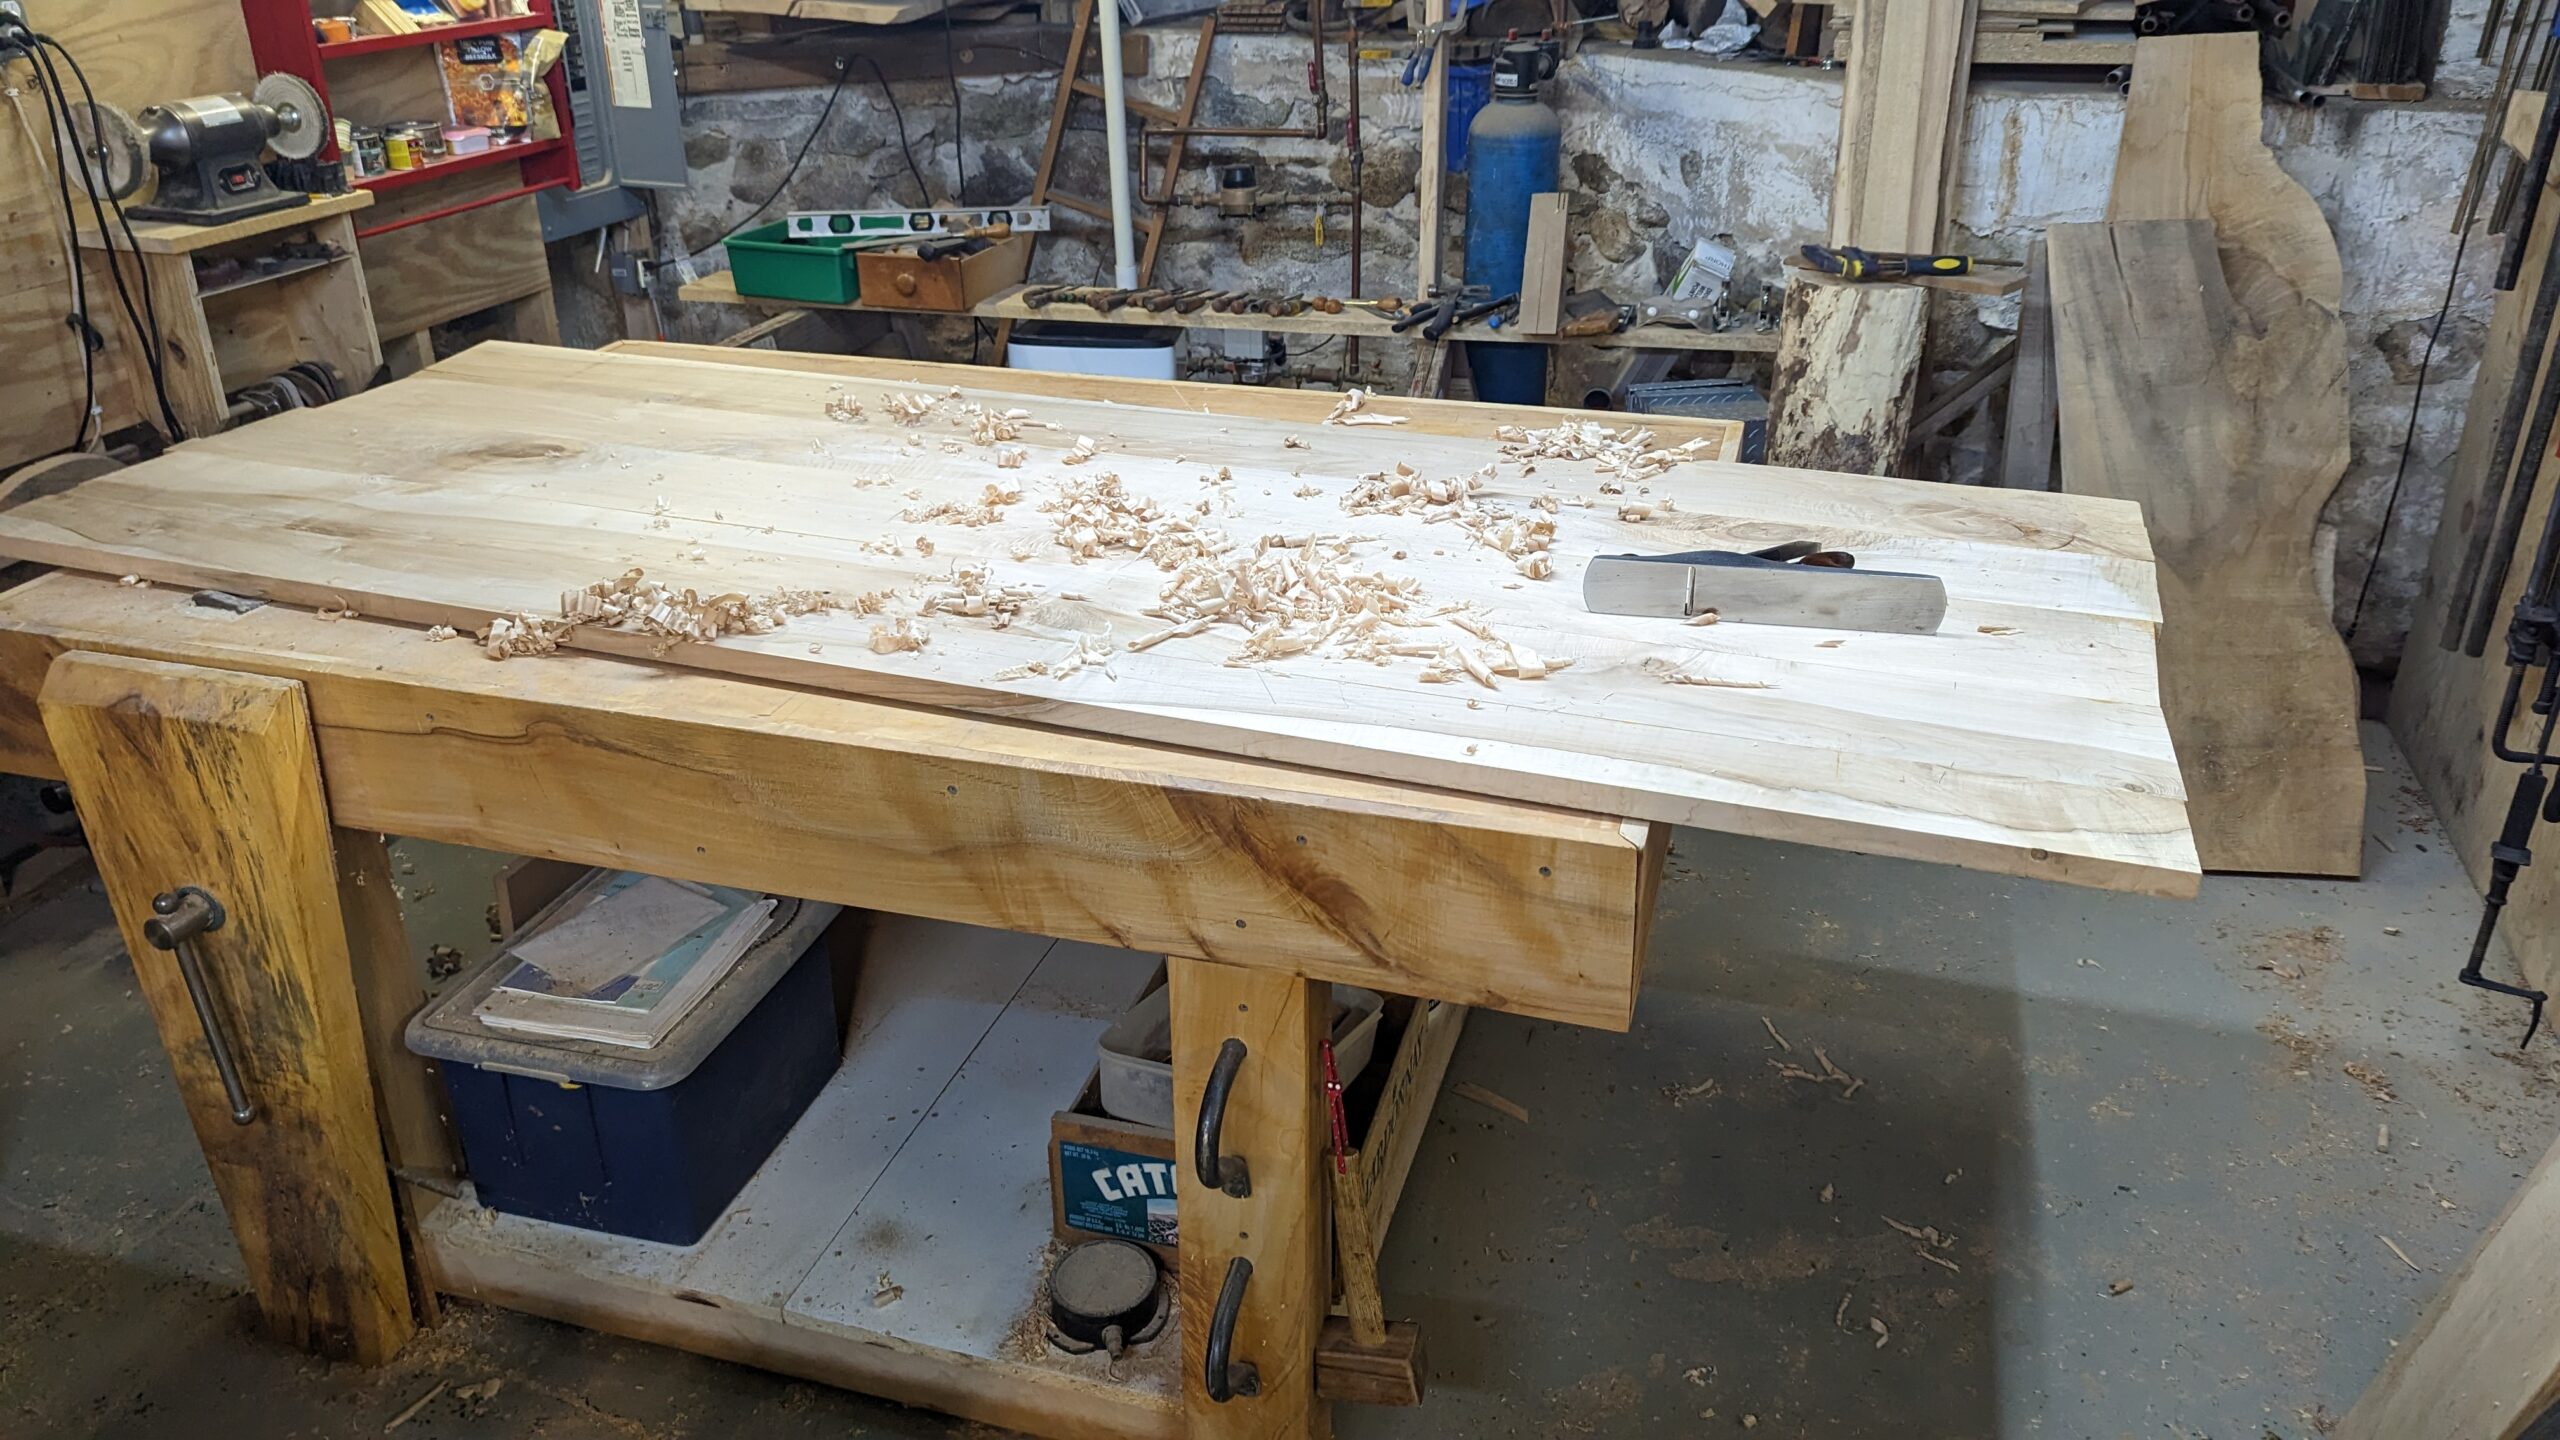
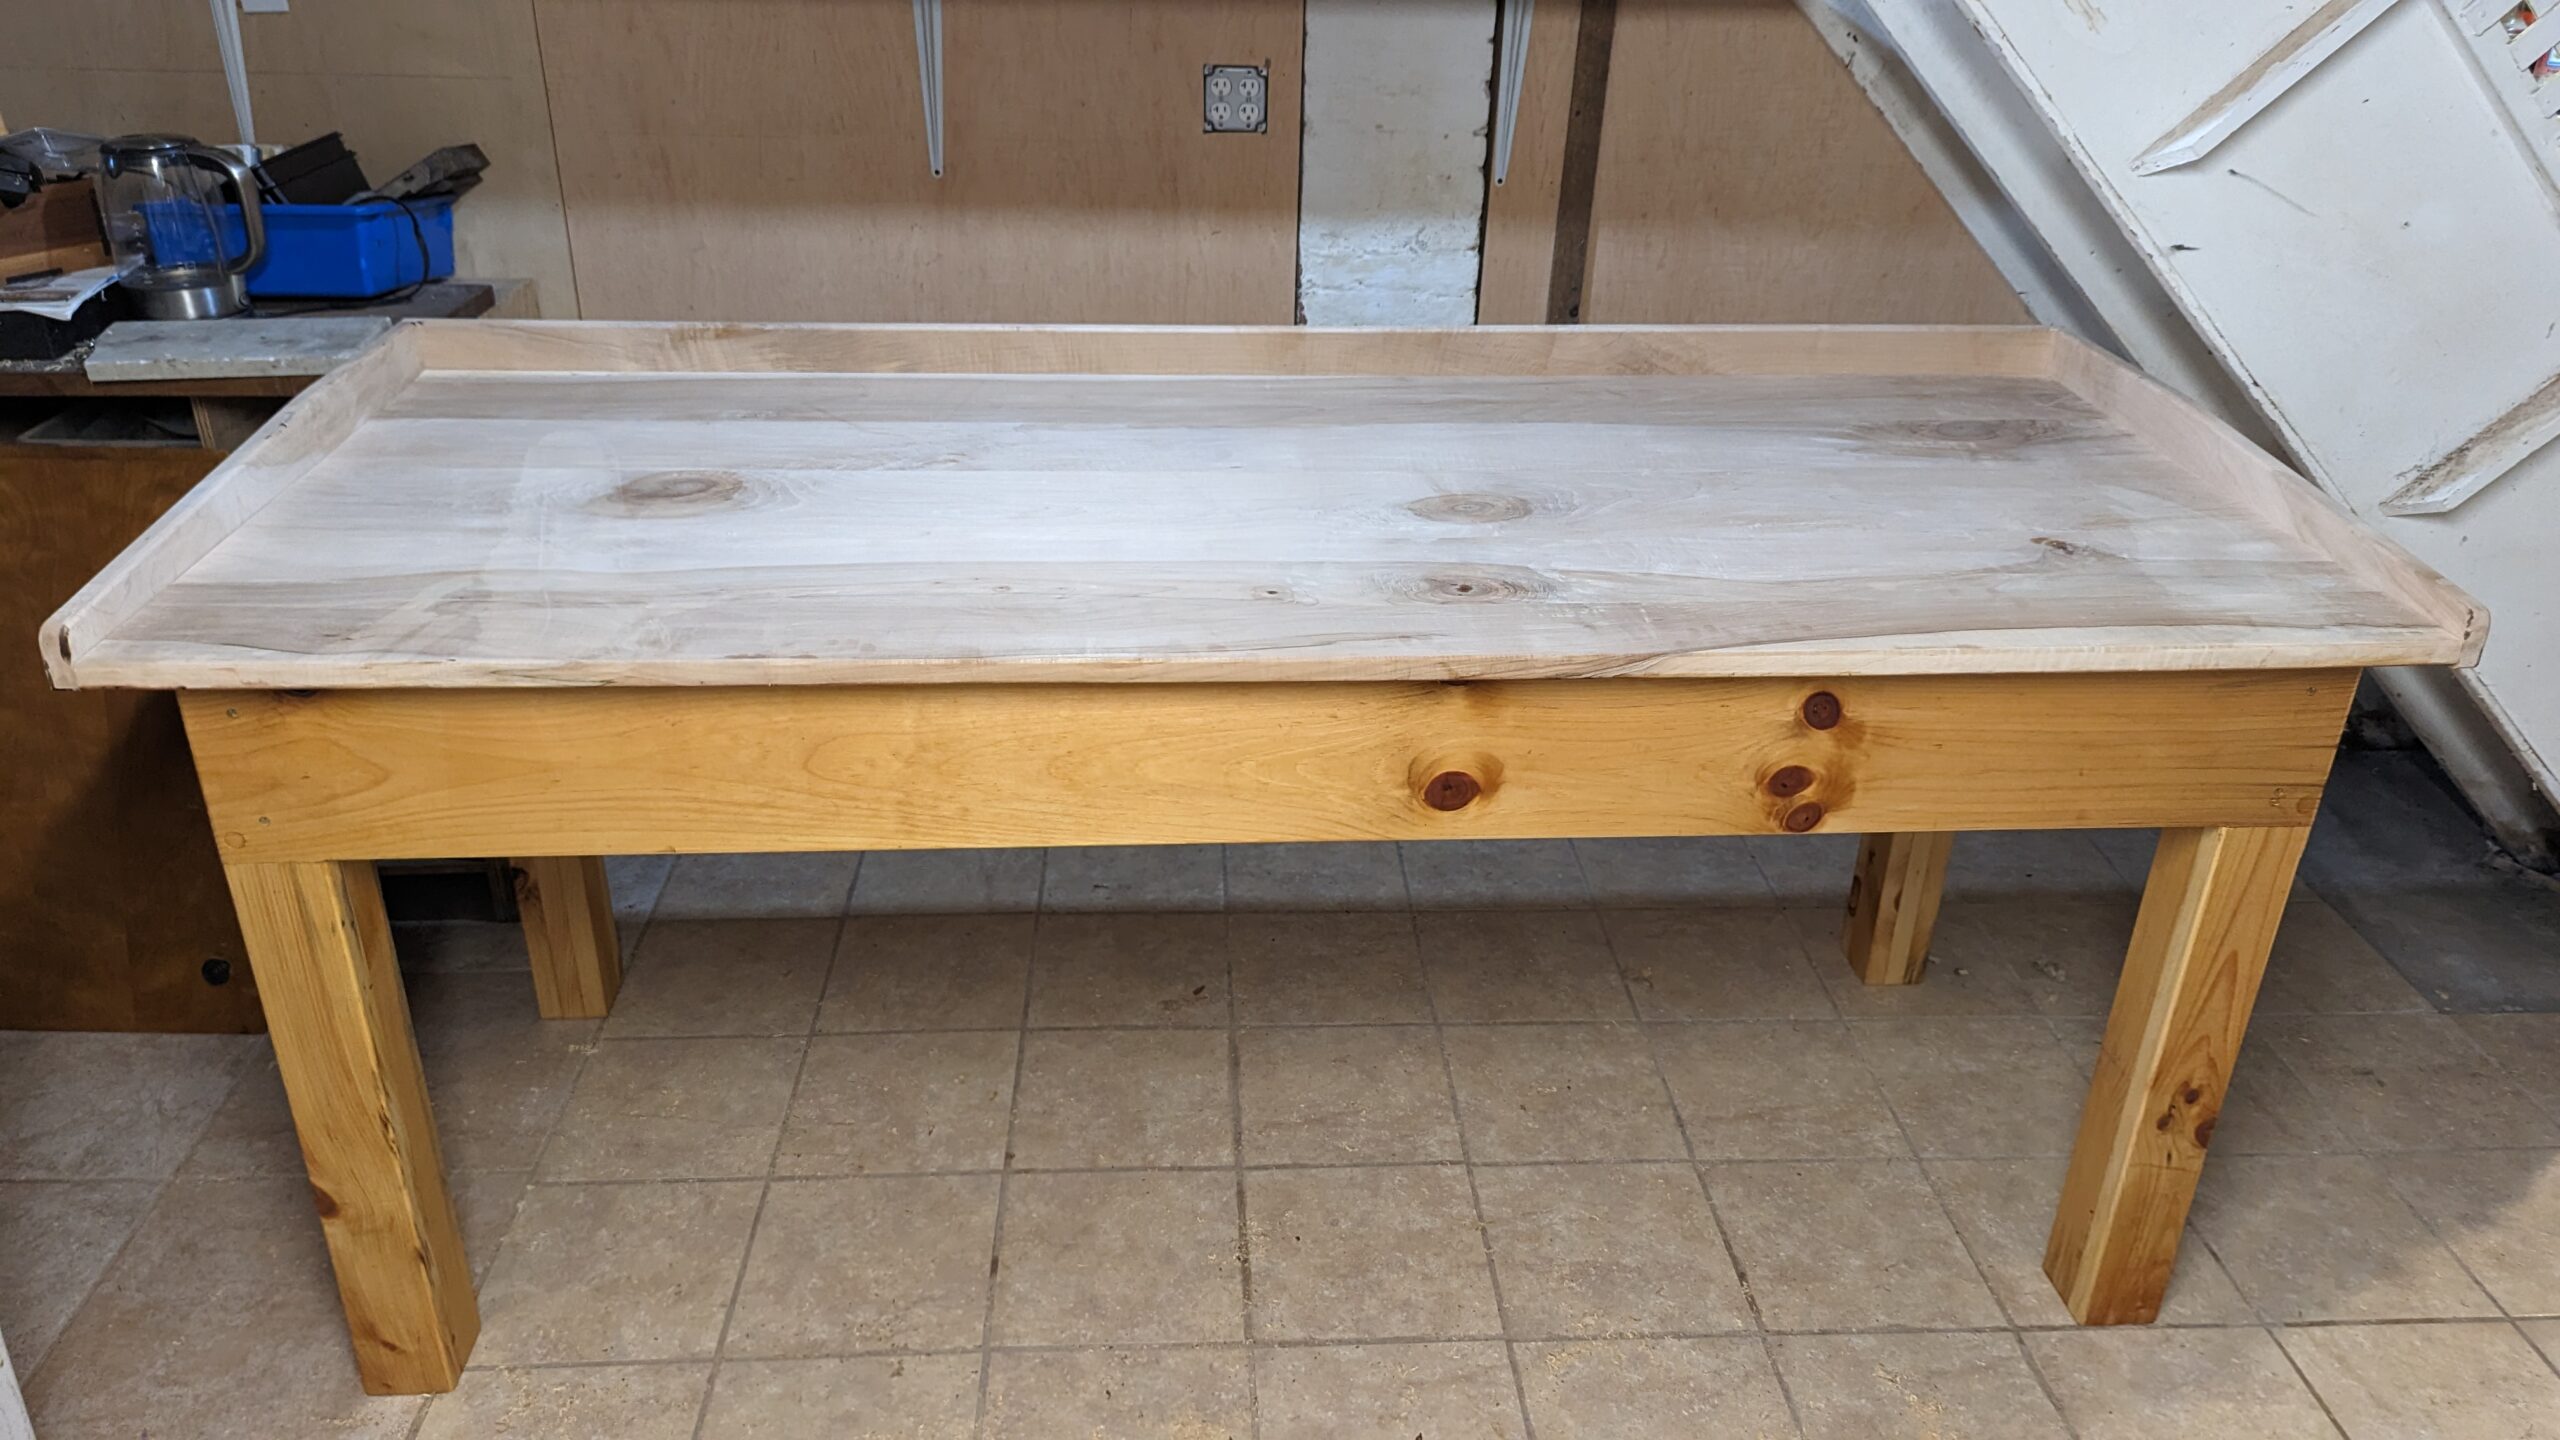
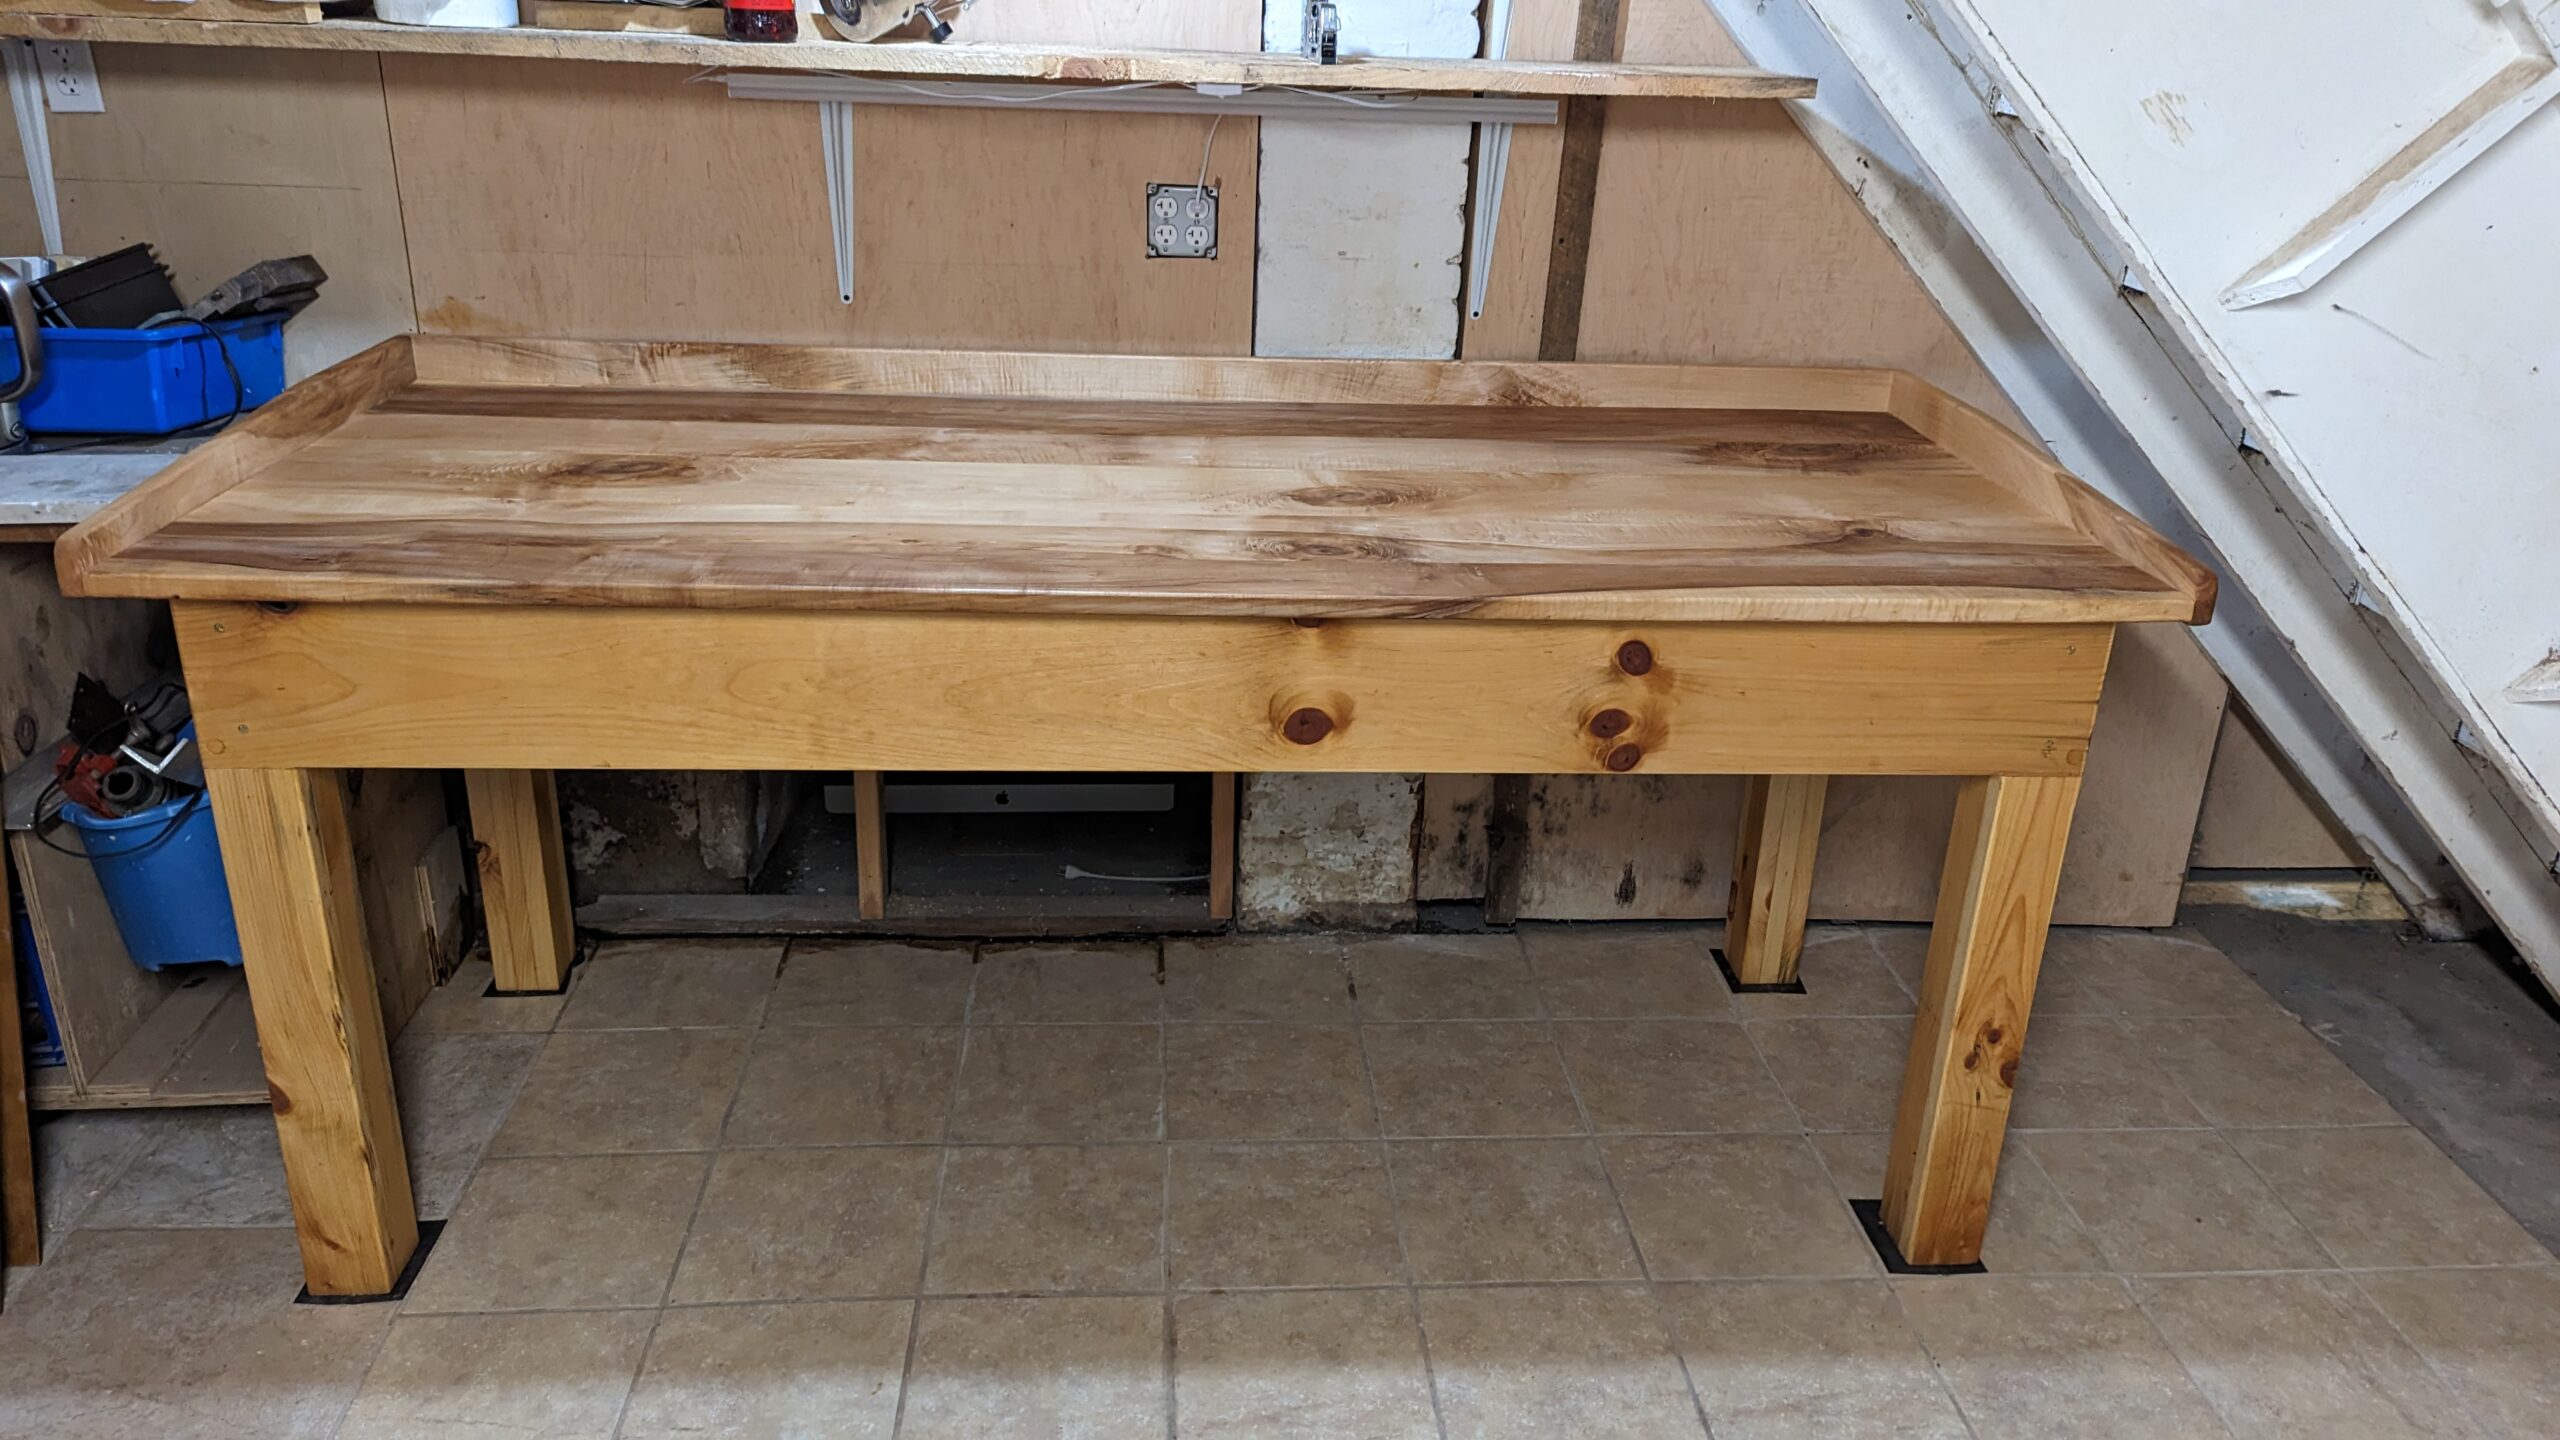
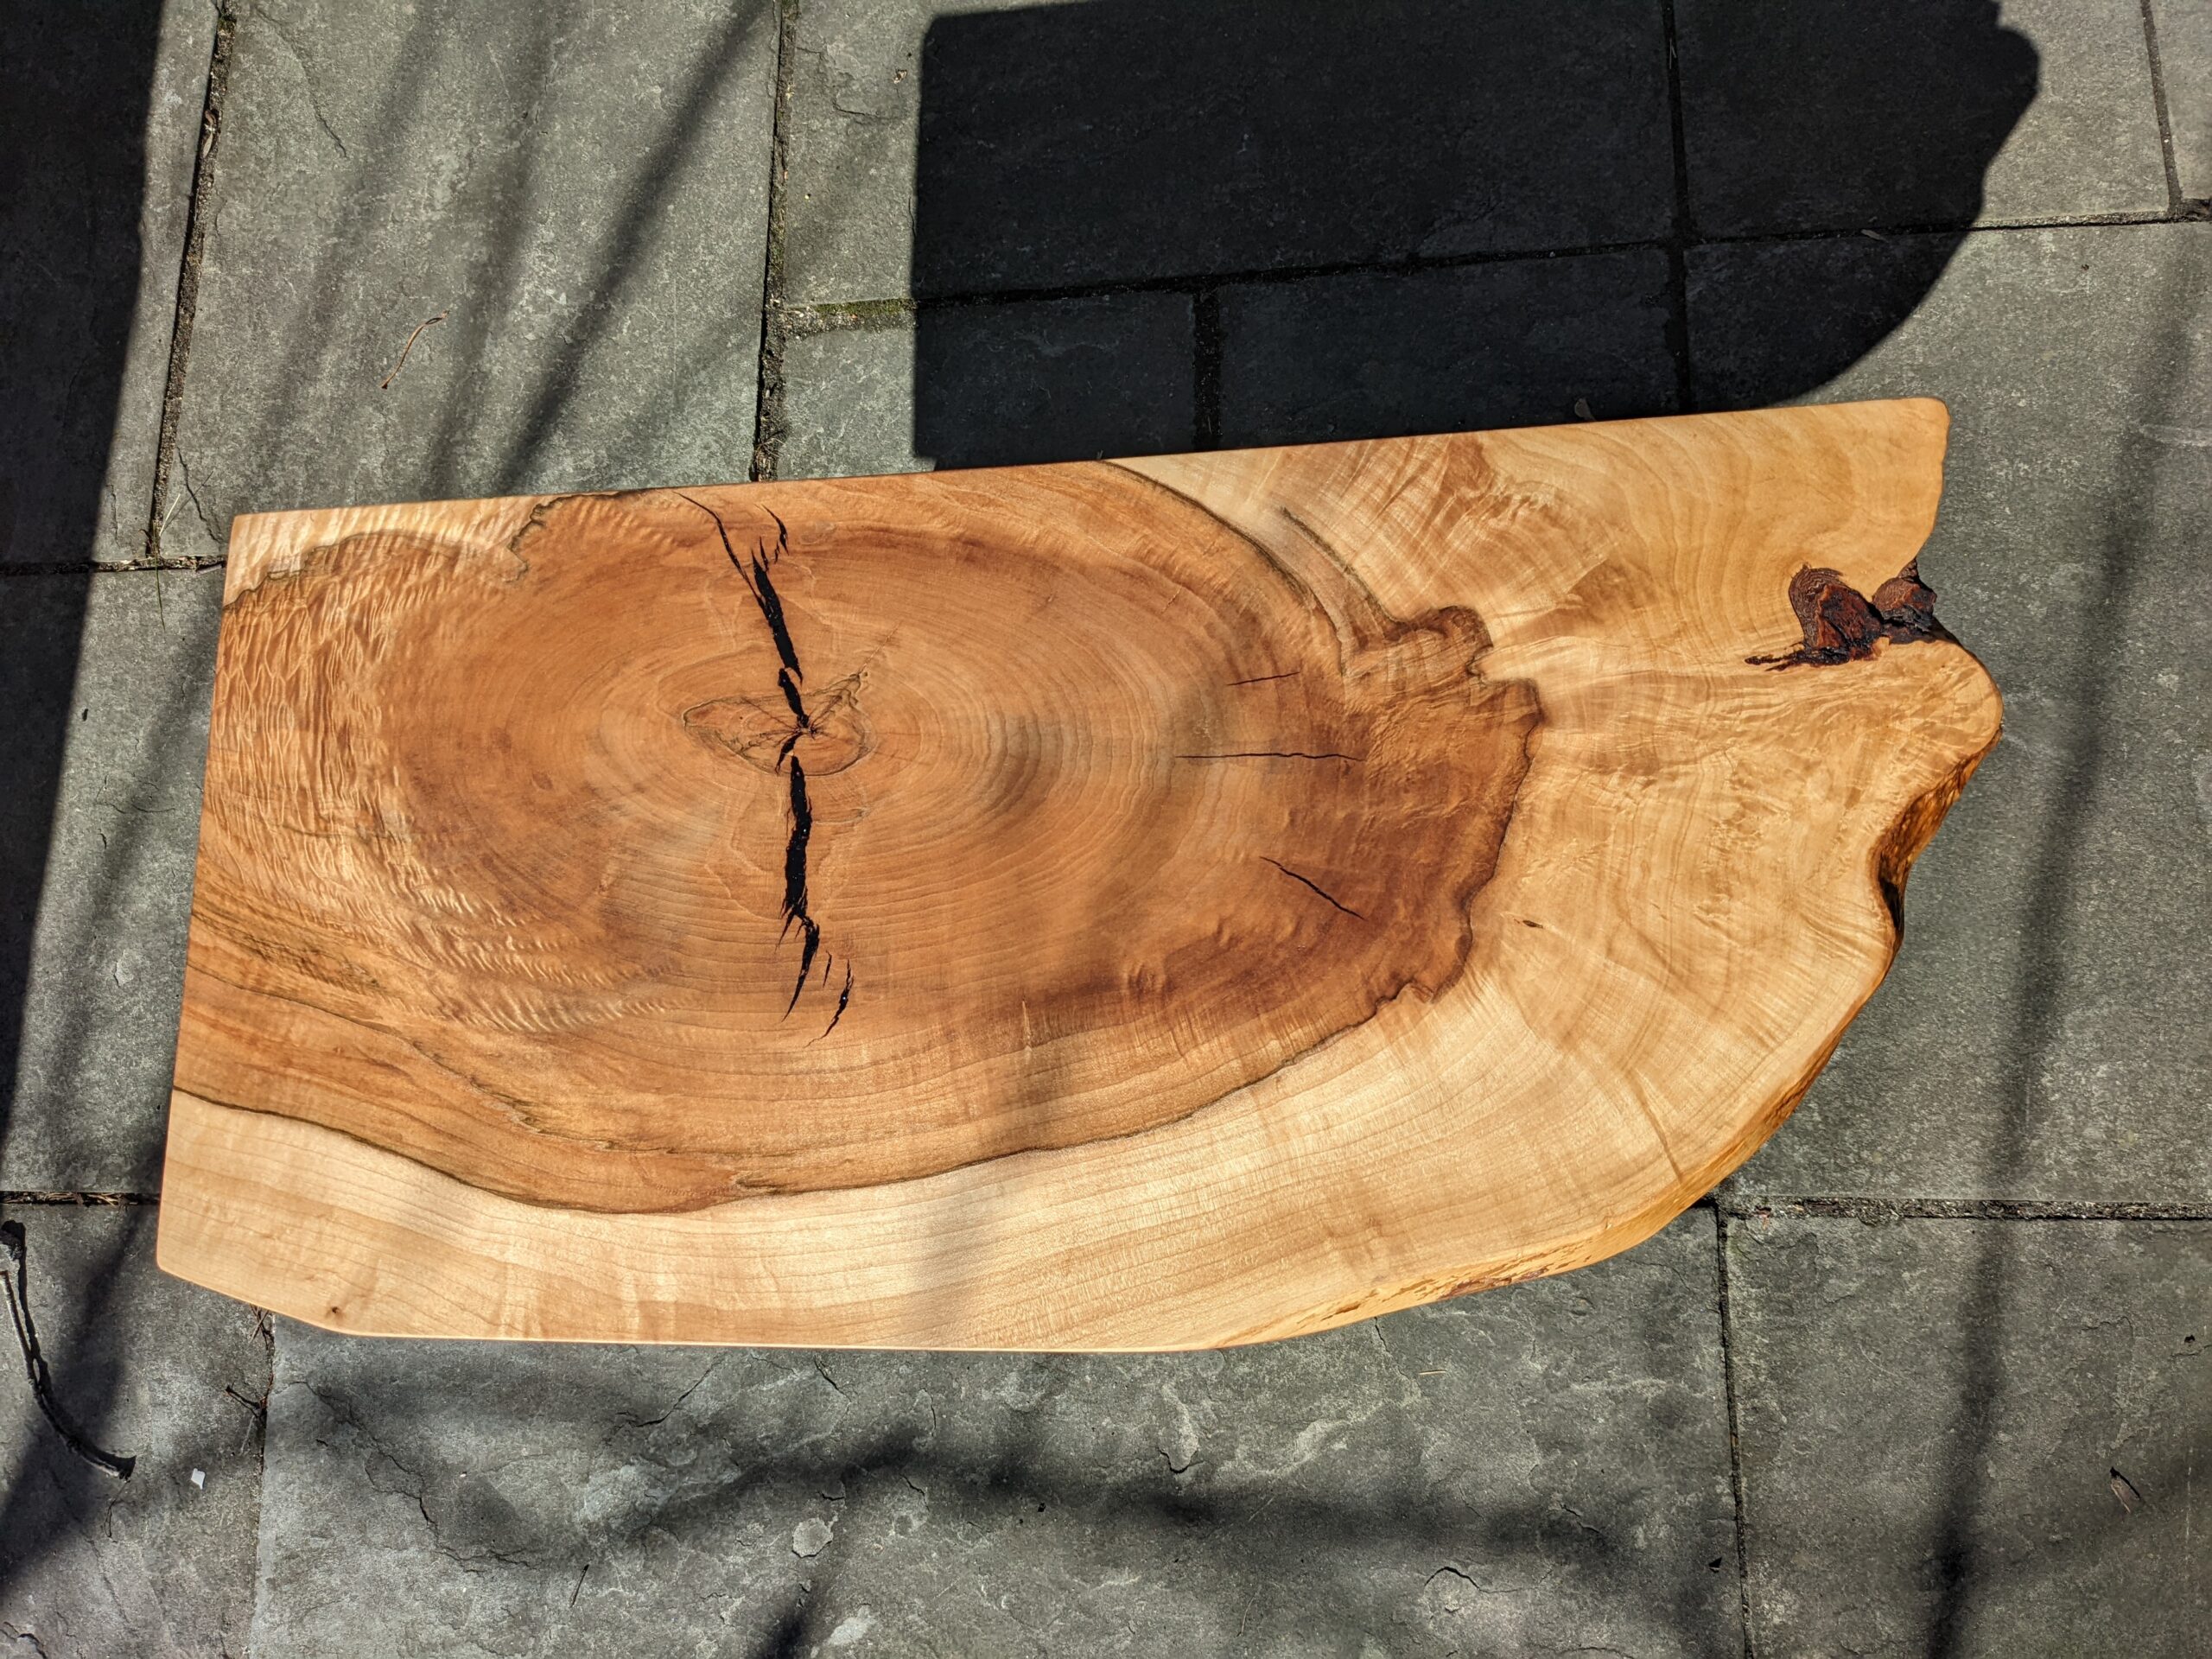
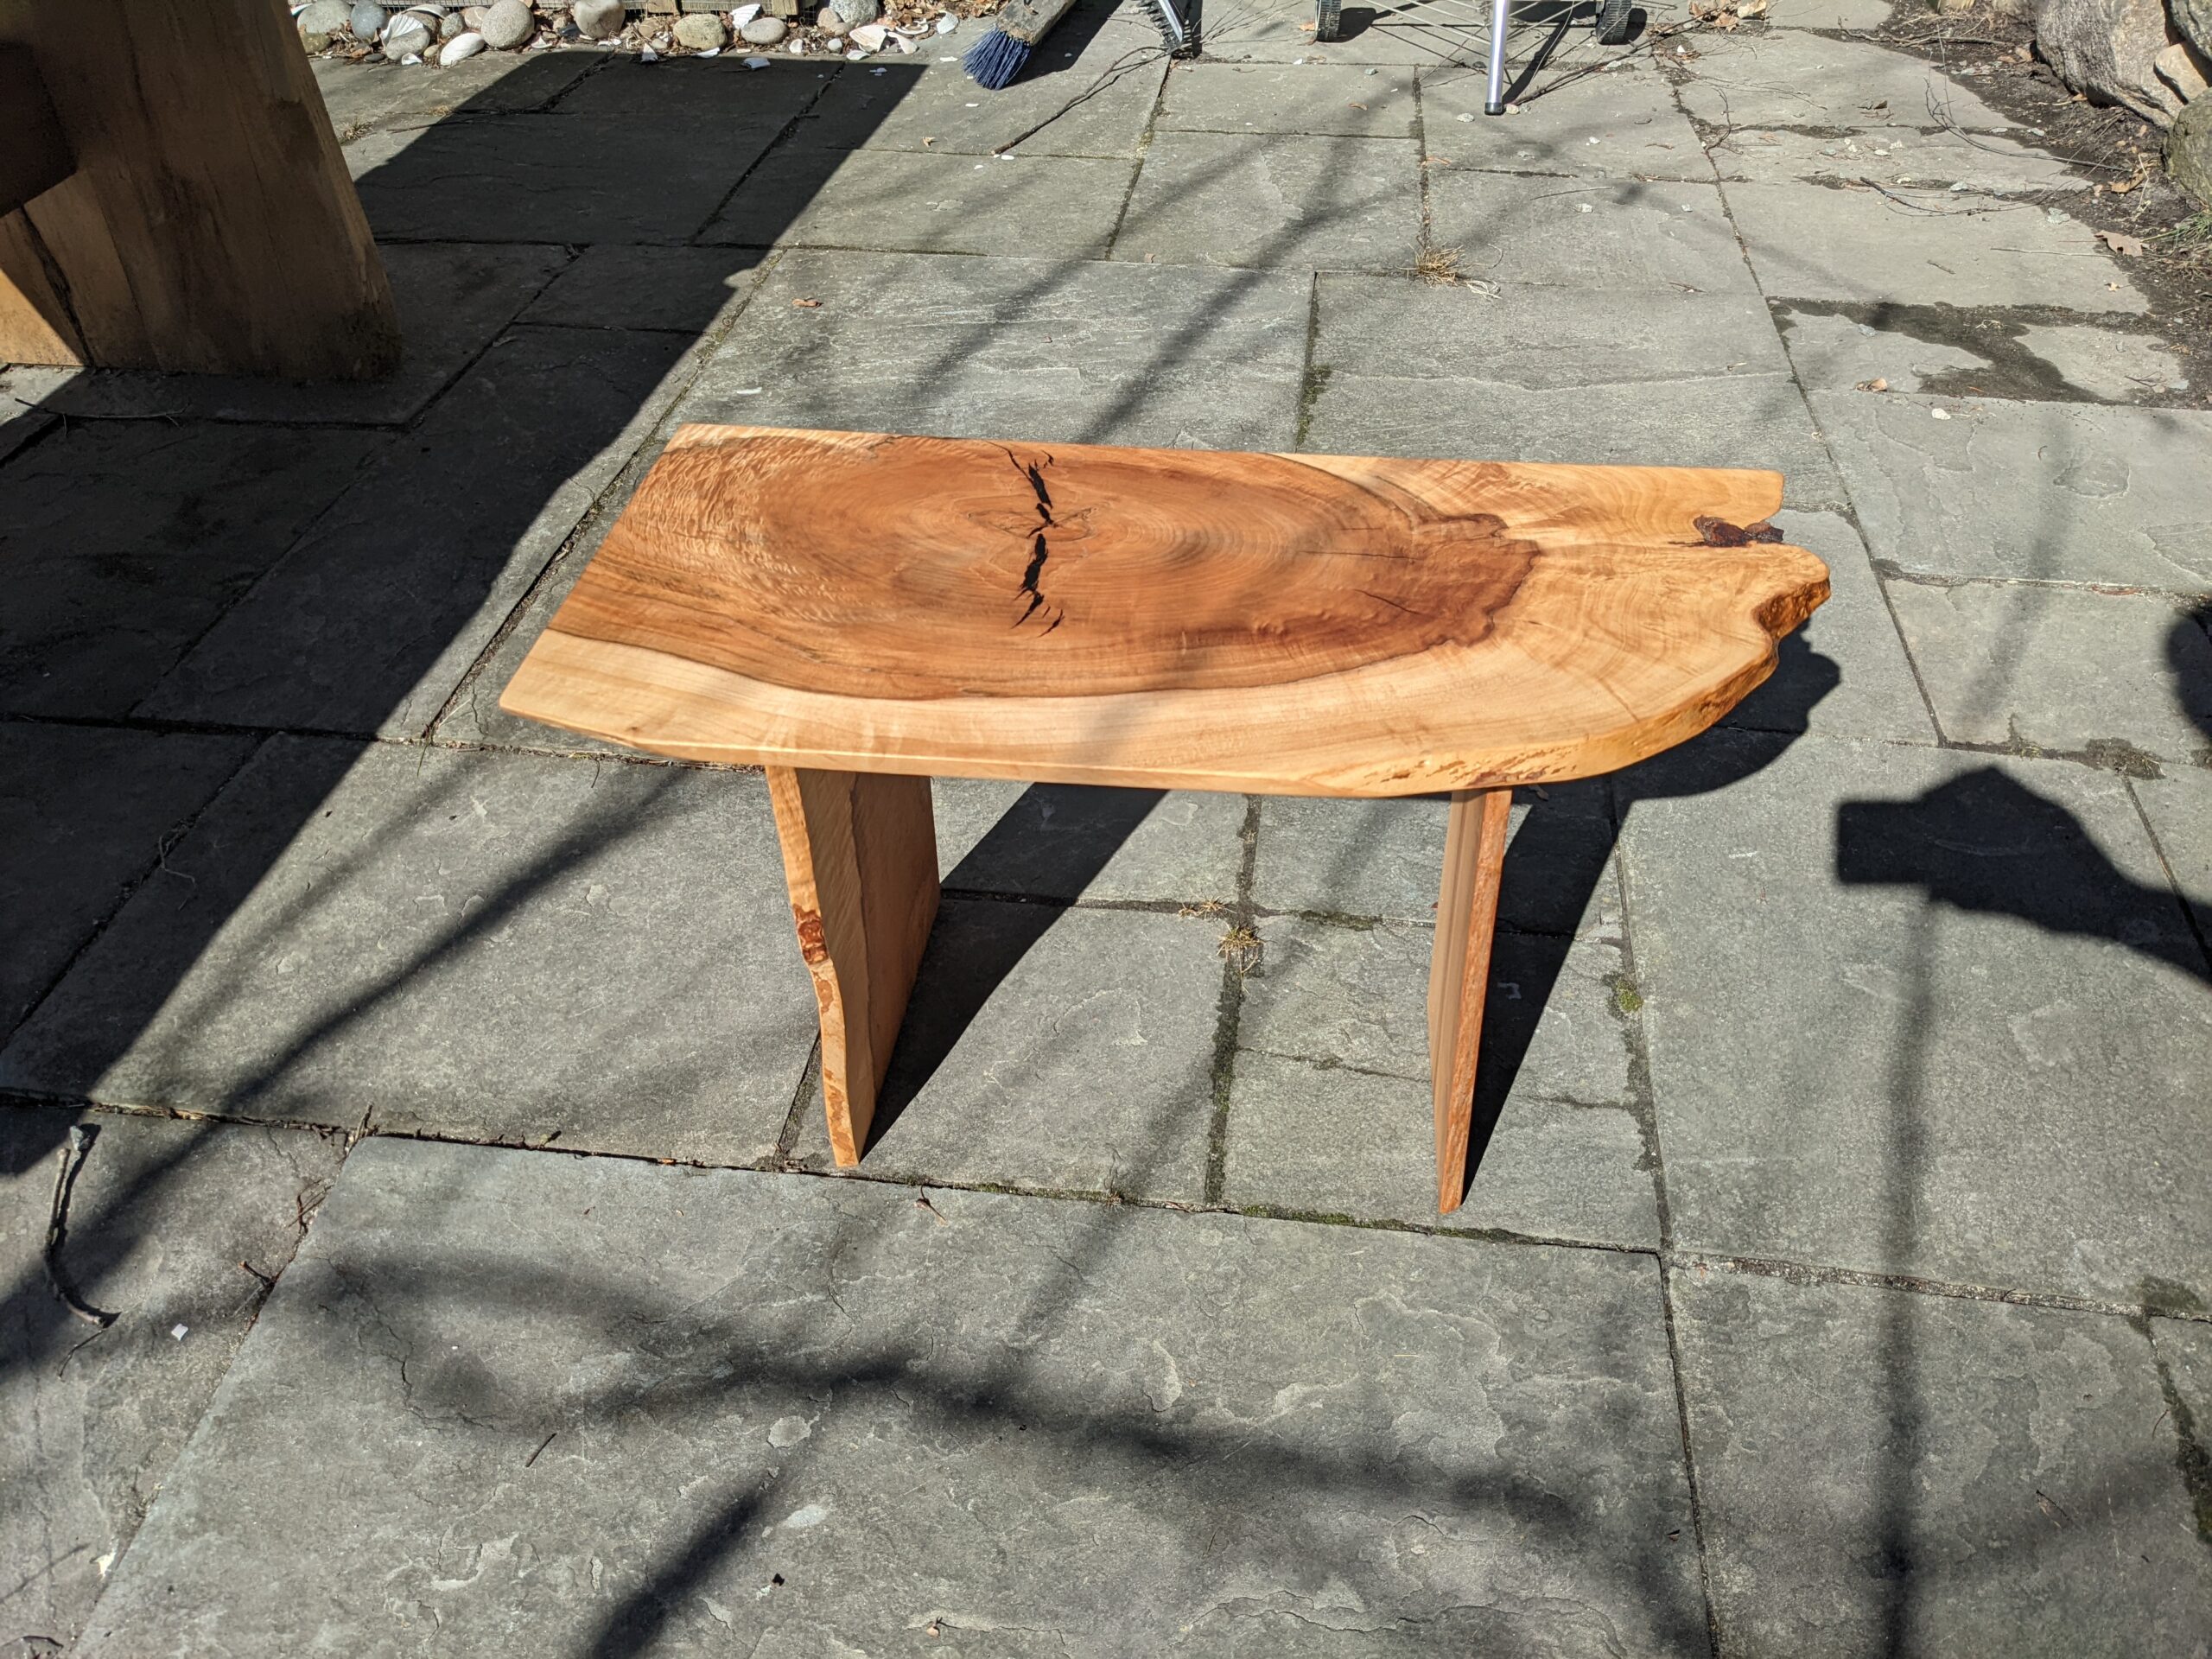
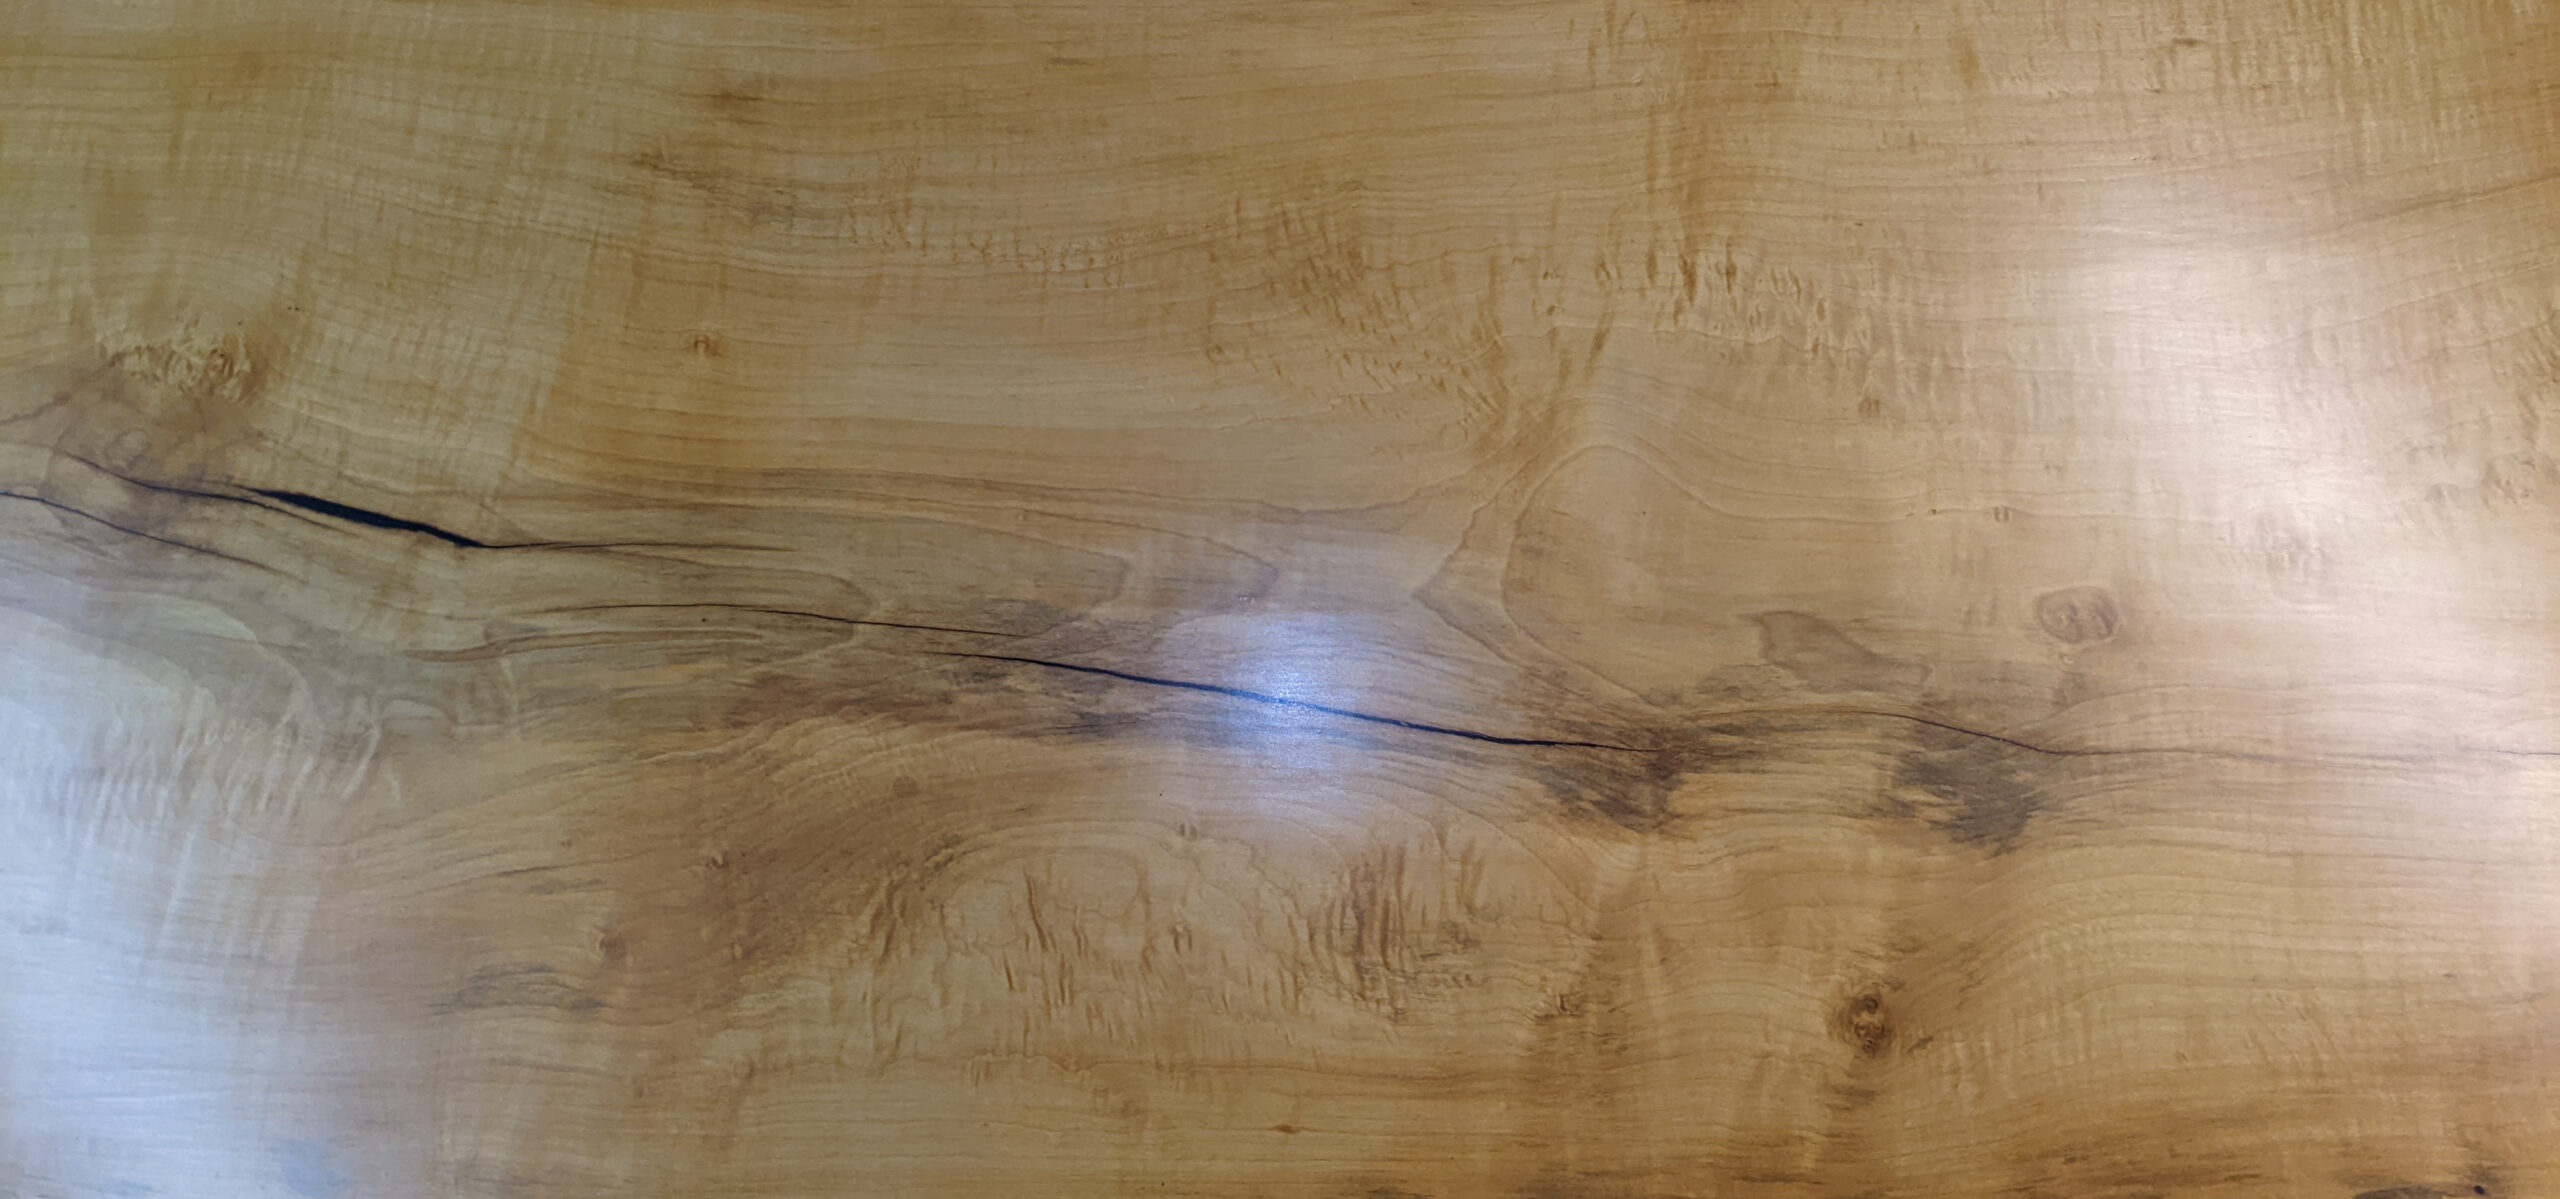
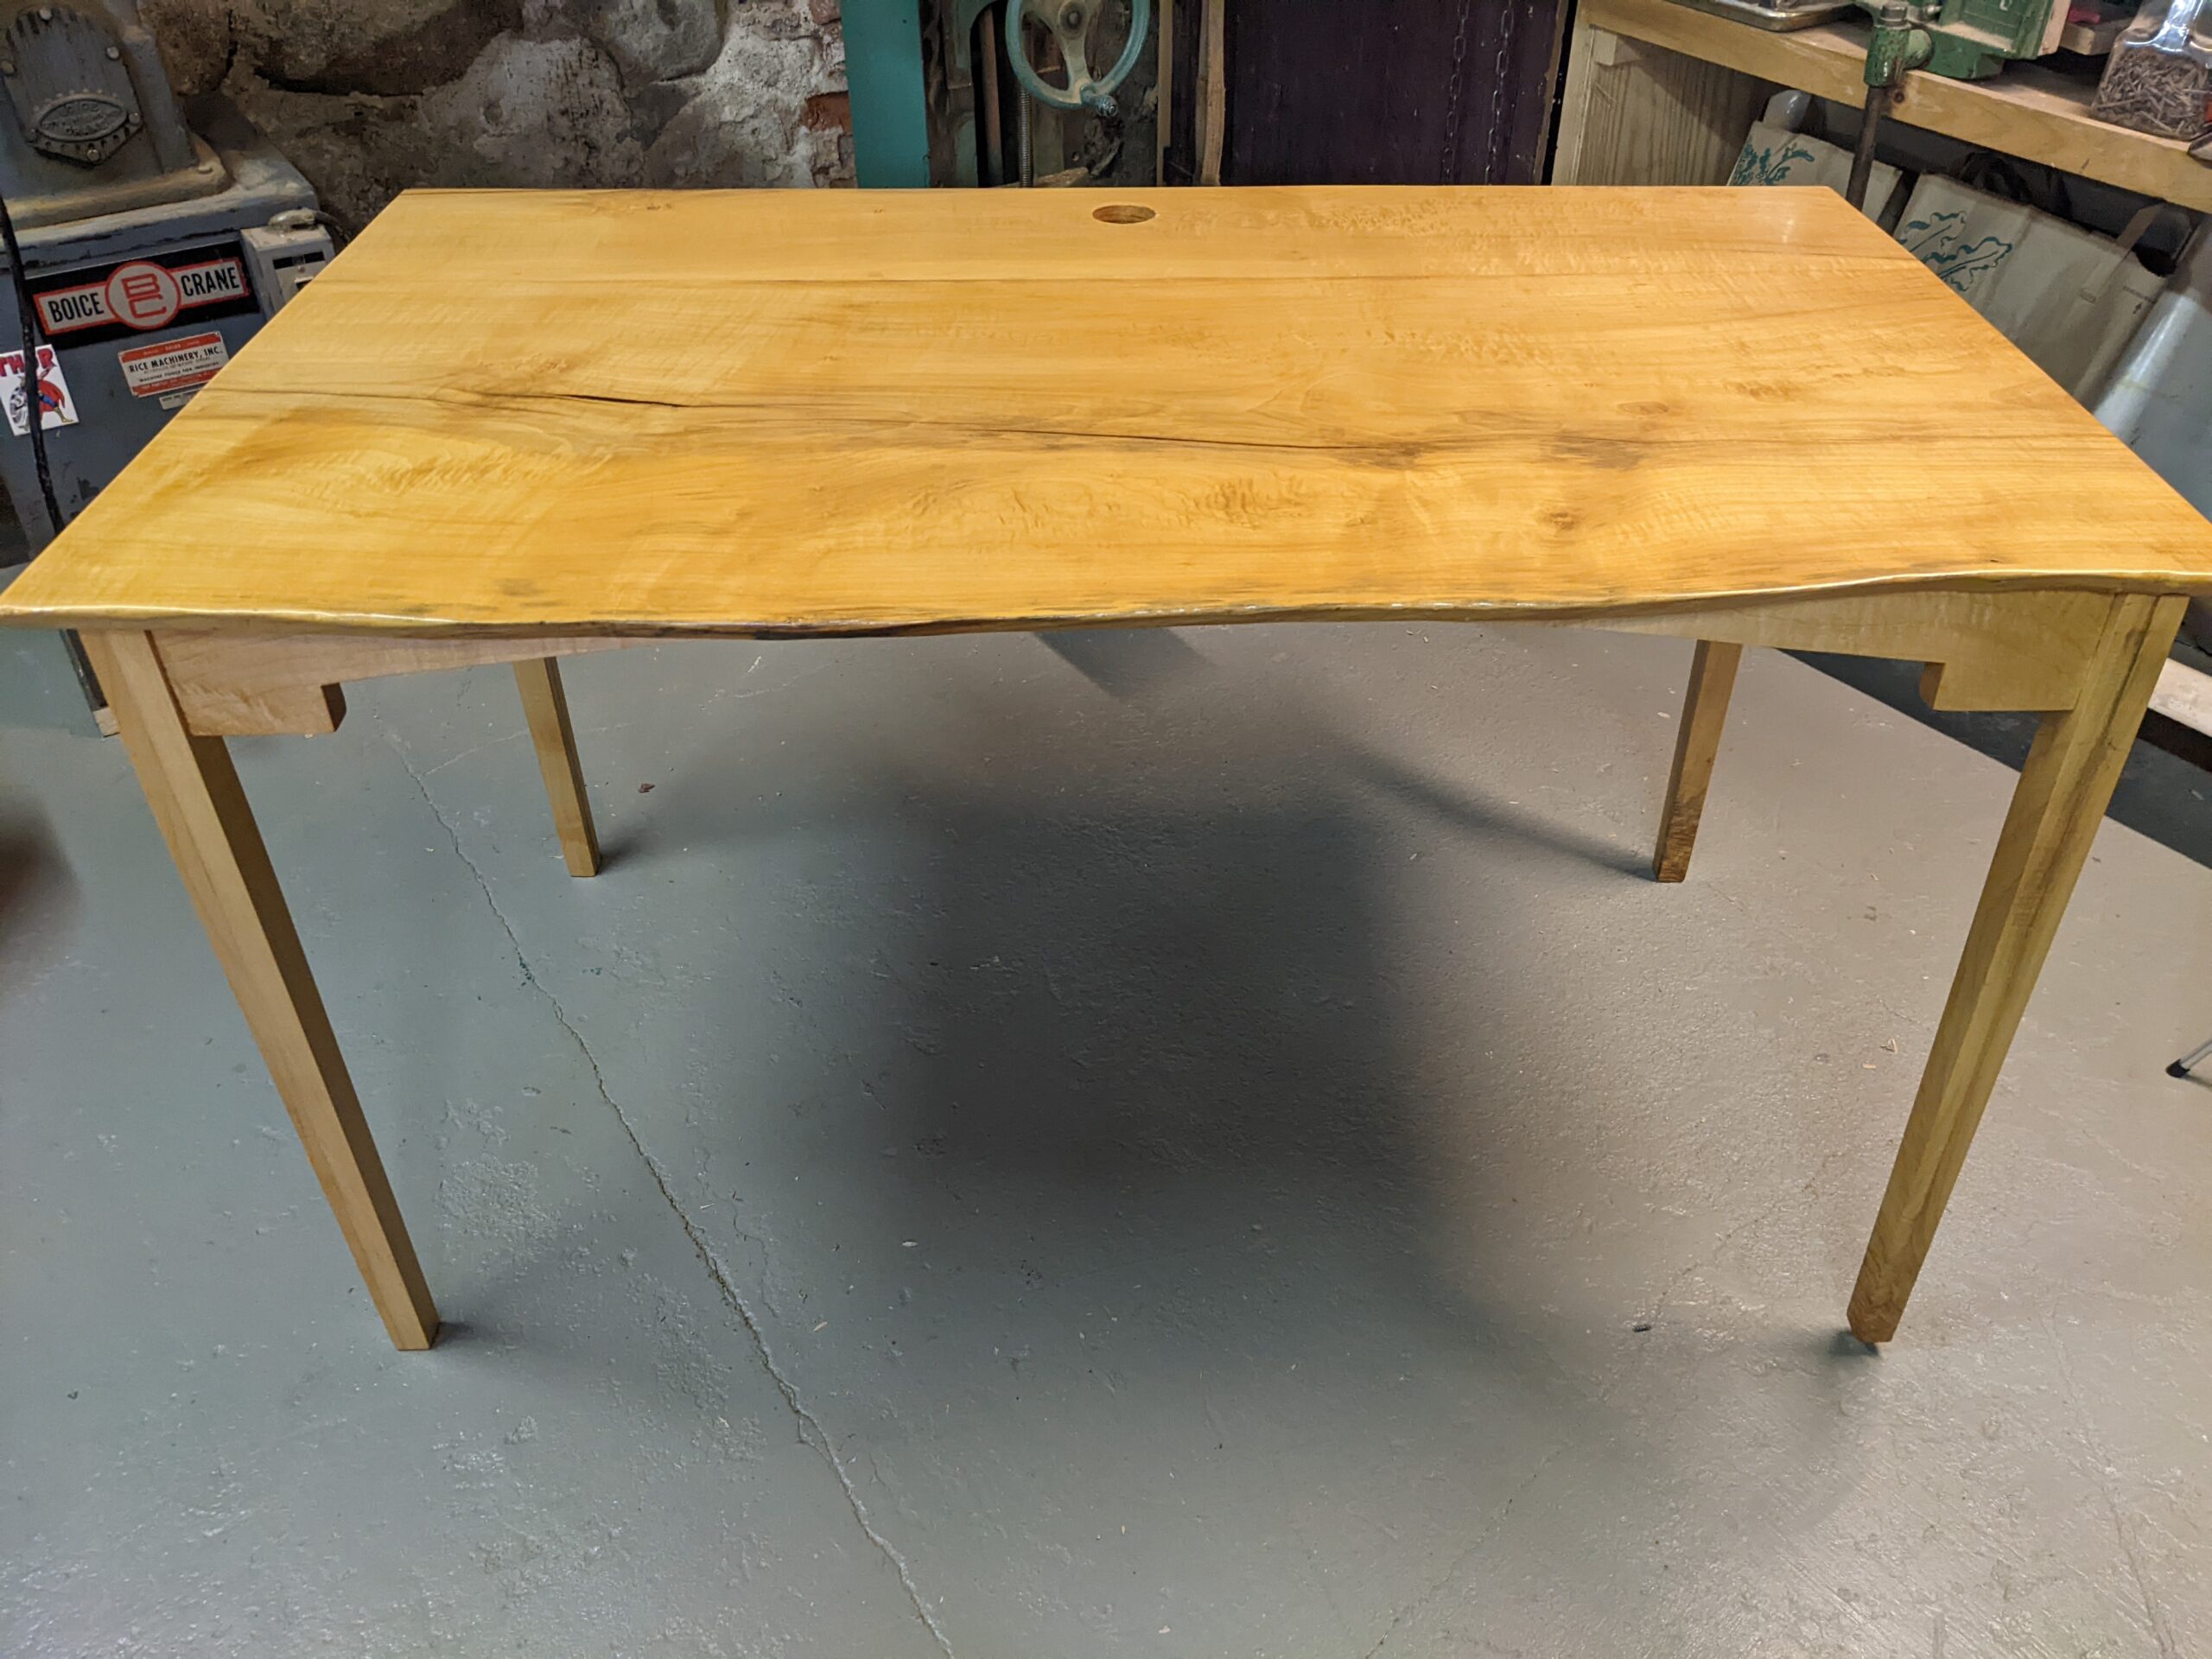
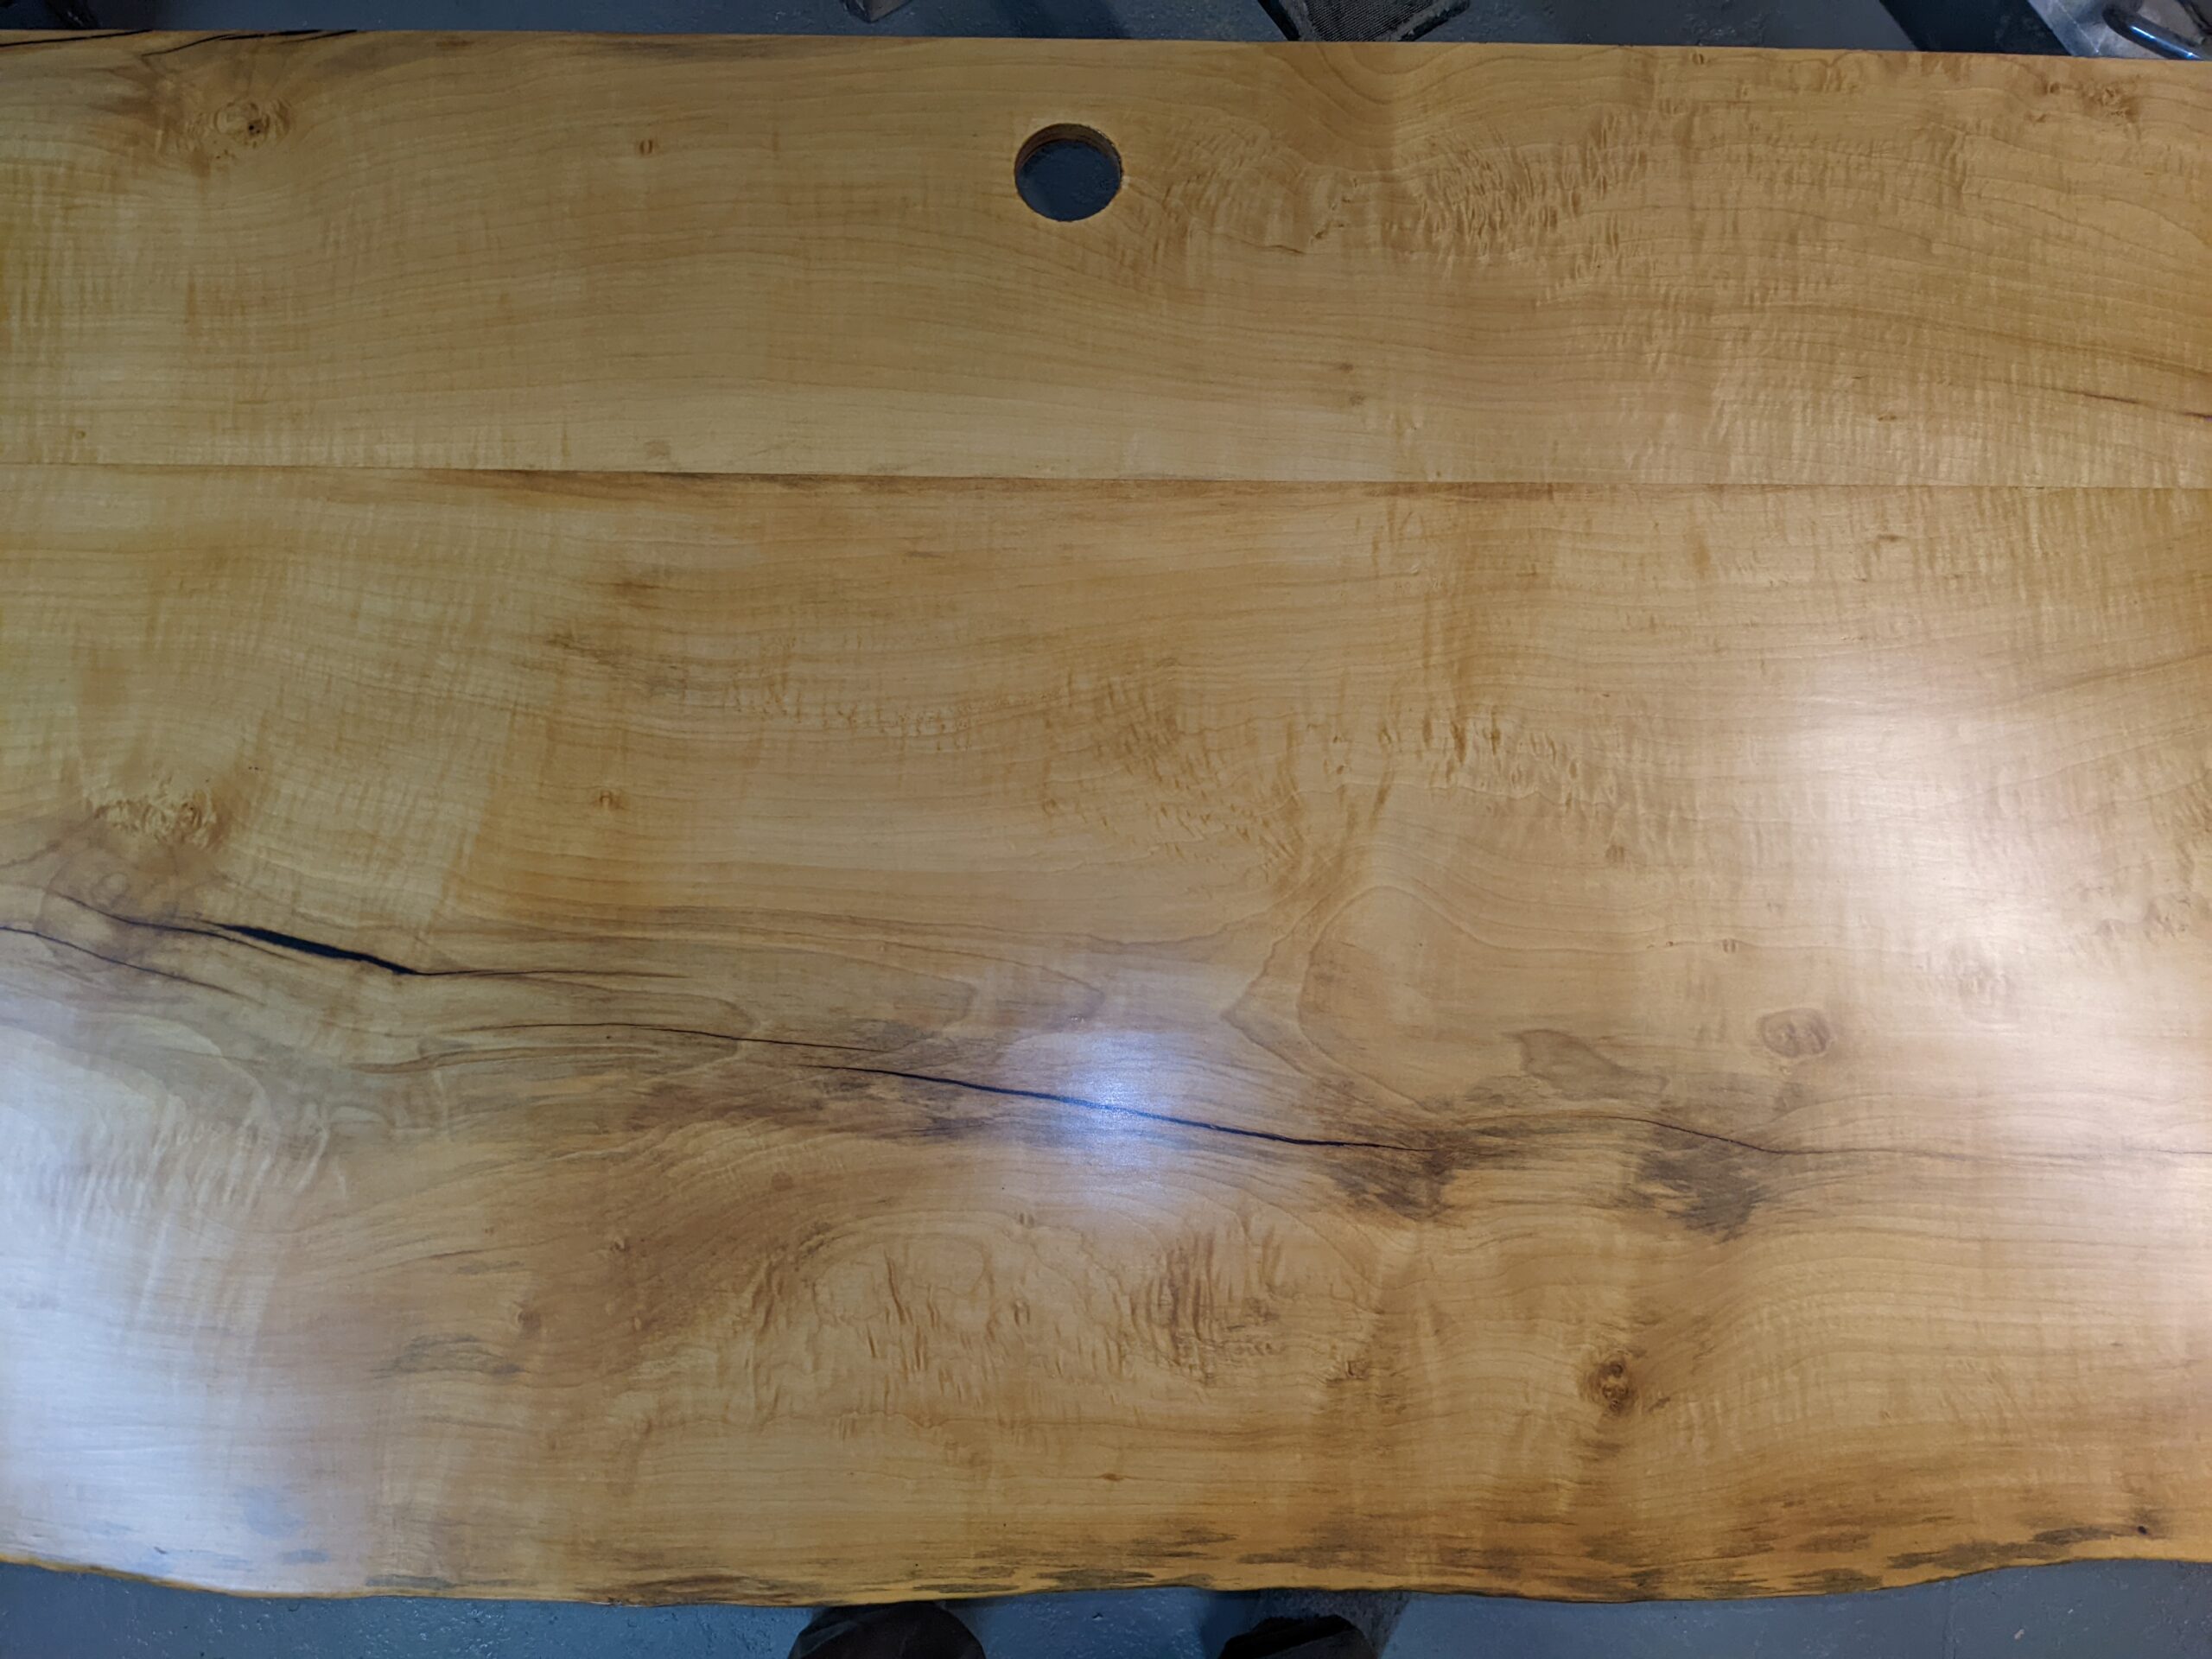
So, I built a big, rustic table…it’s three feet tall, three feet deep and seven feet long. The base is white pine and the top is maple, wrapped in an apron on three sides to catch a ball of dough that is done kneading and tossed to the back while the next ball is formed. You know when someone has a handful of flour and flicks it sideways to dust the table? You need a big table for that.
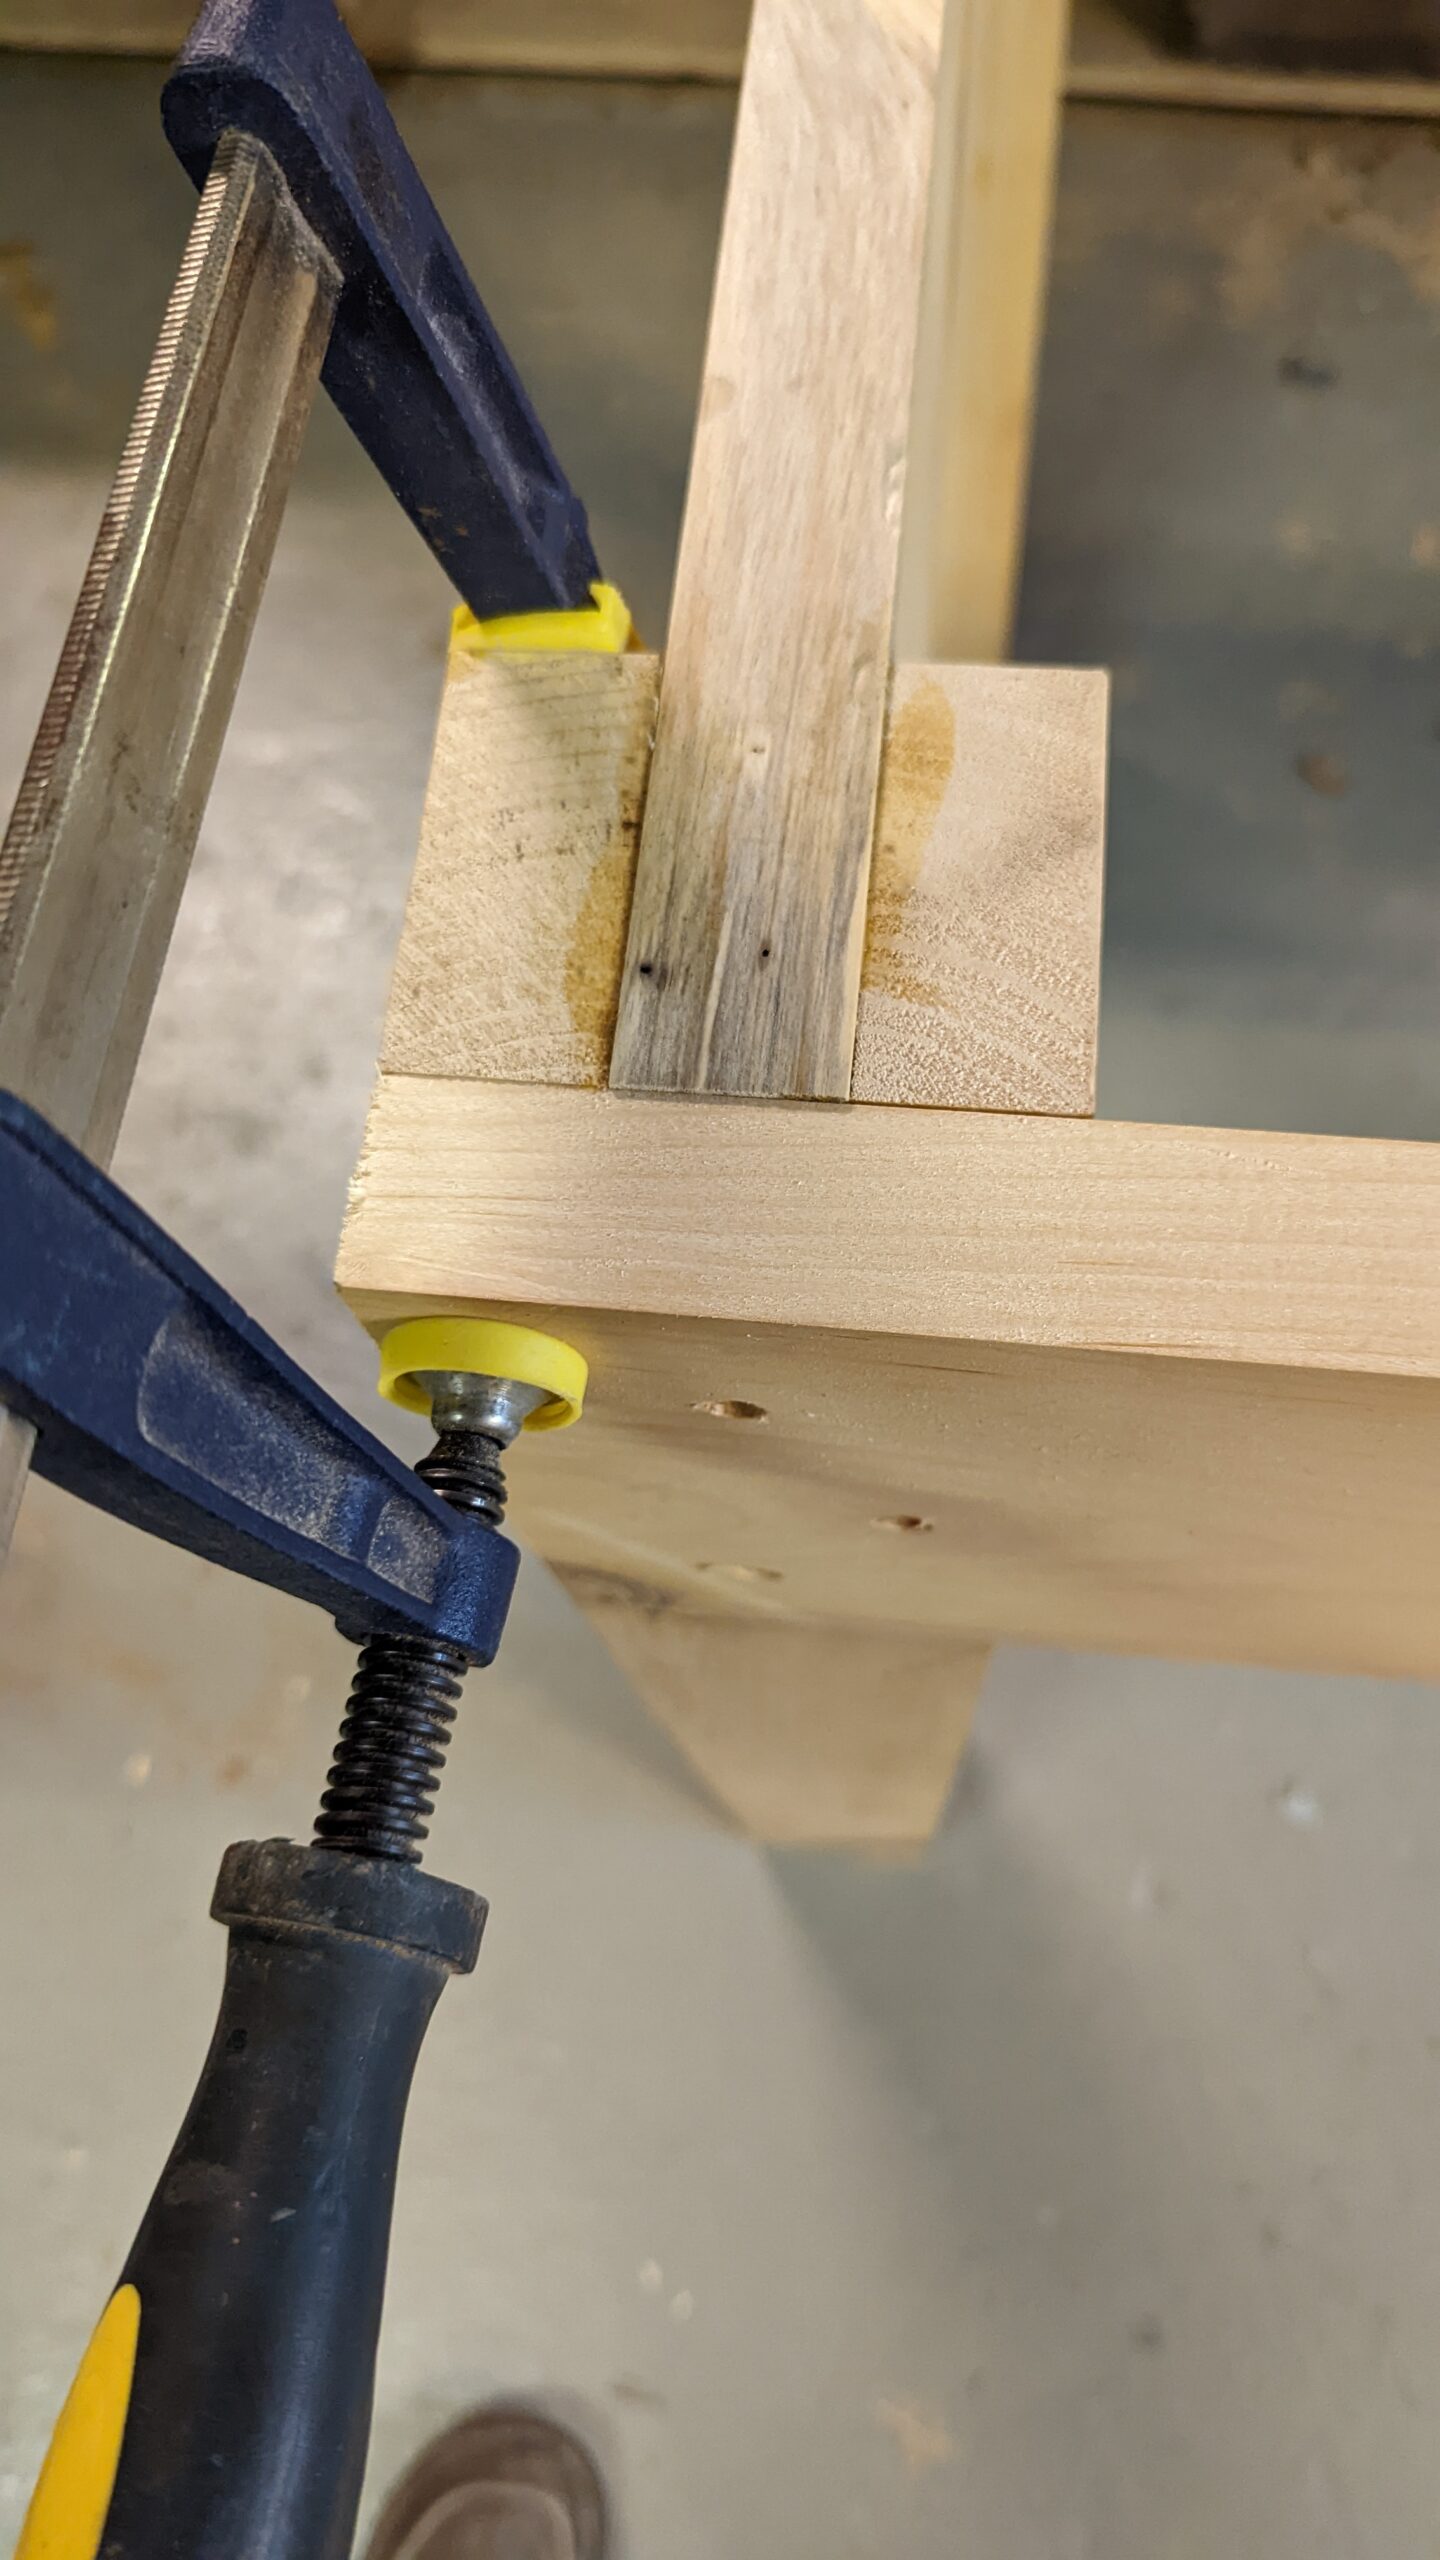
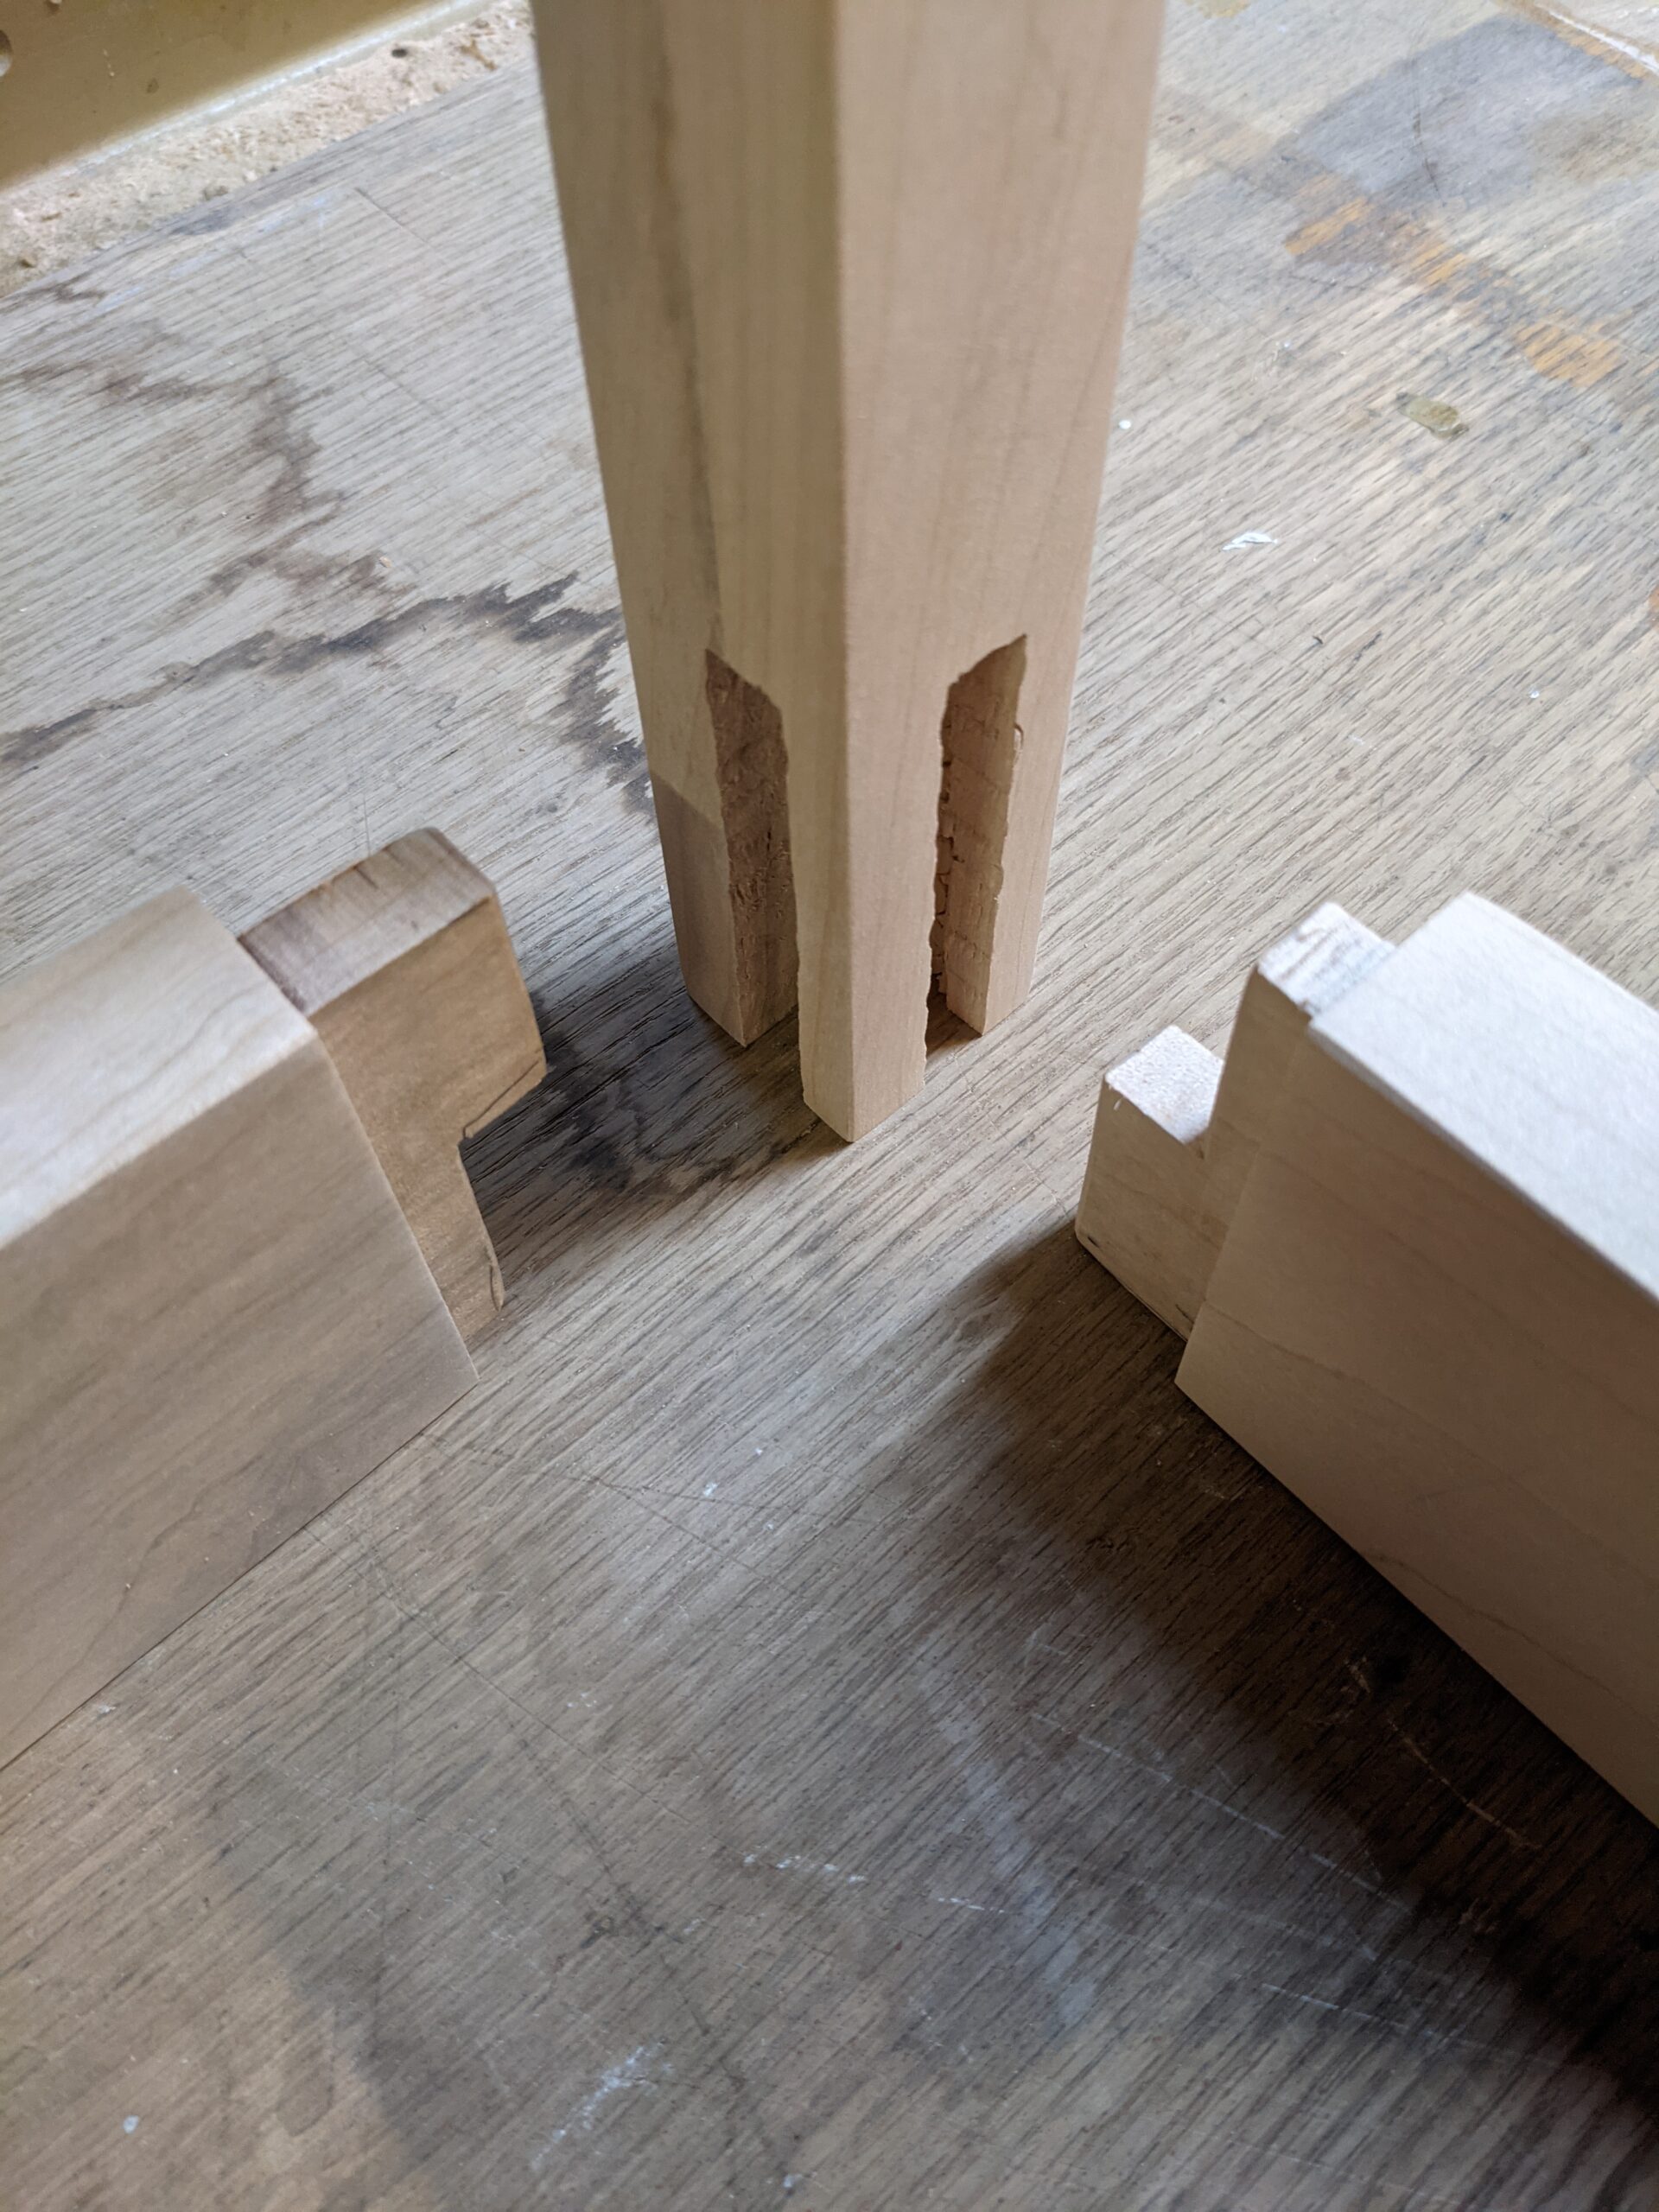
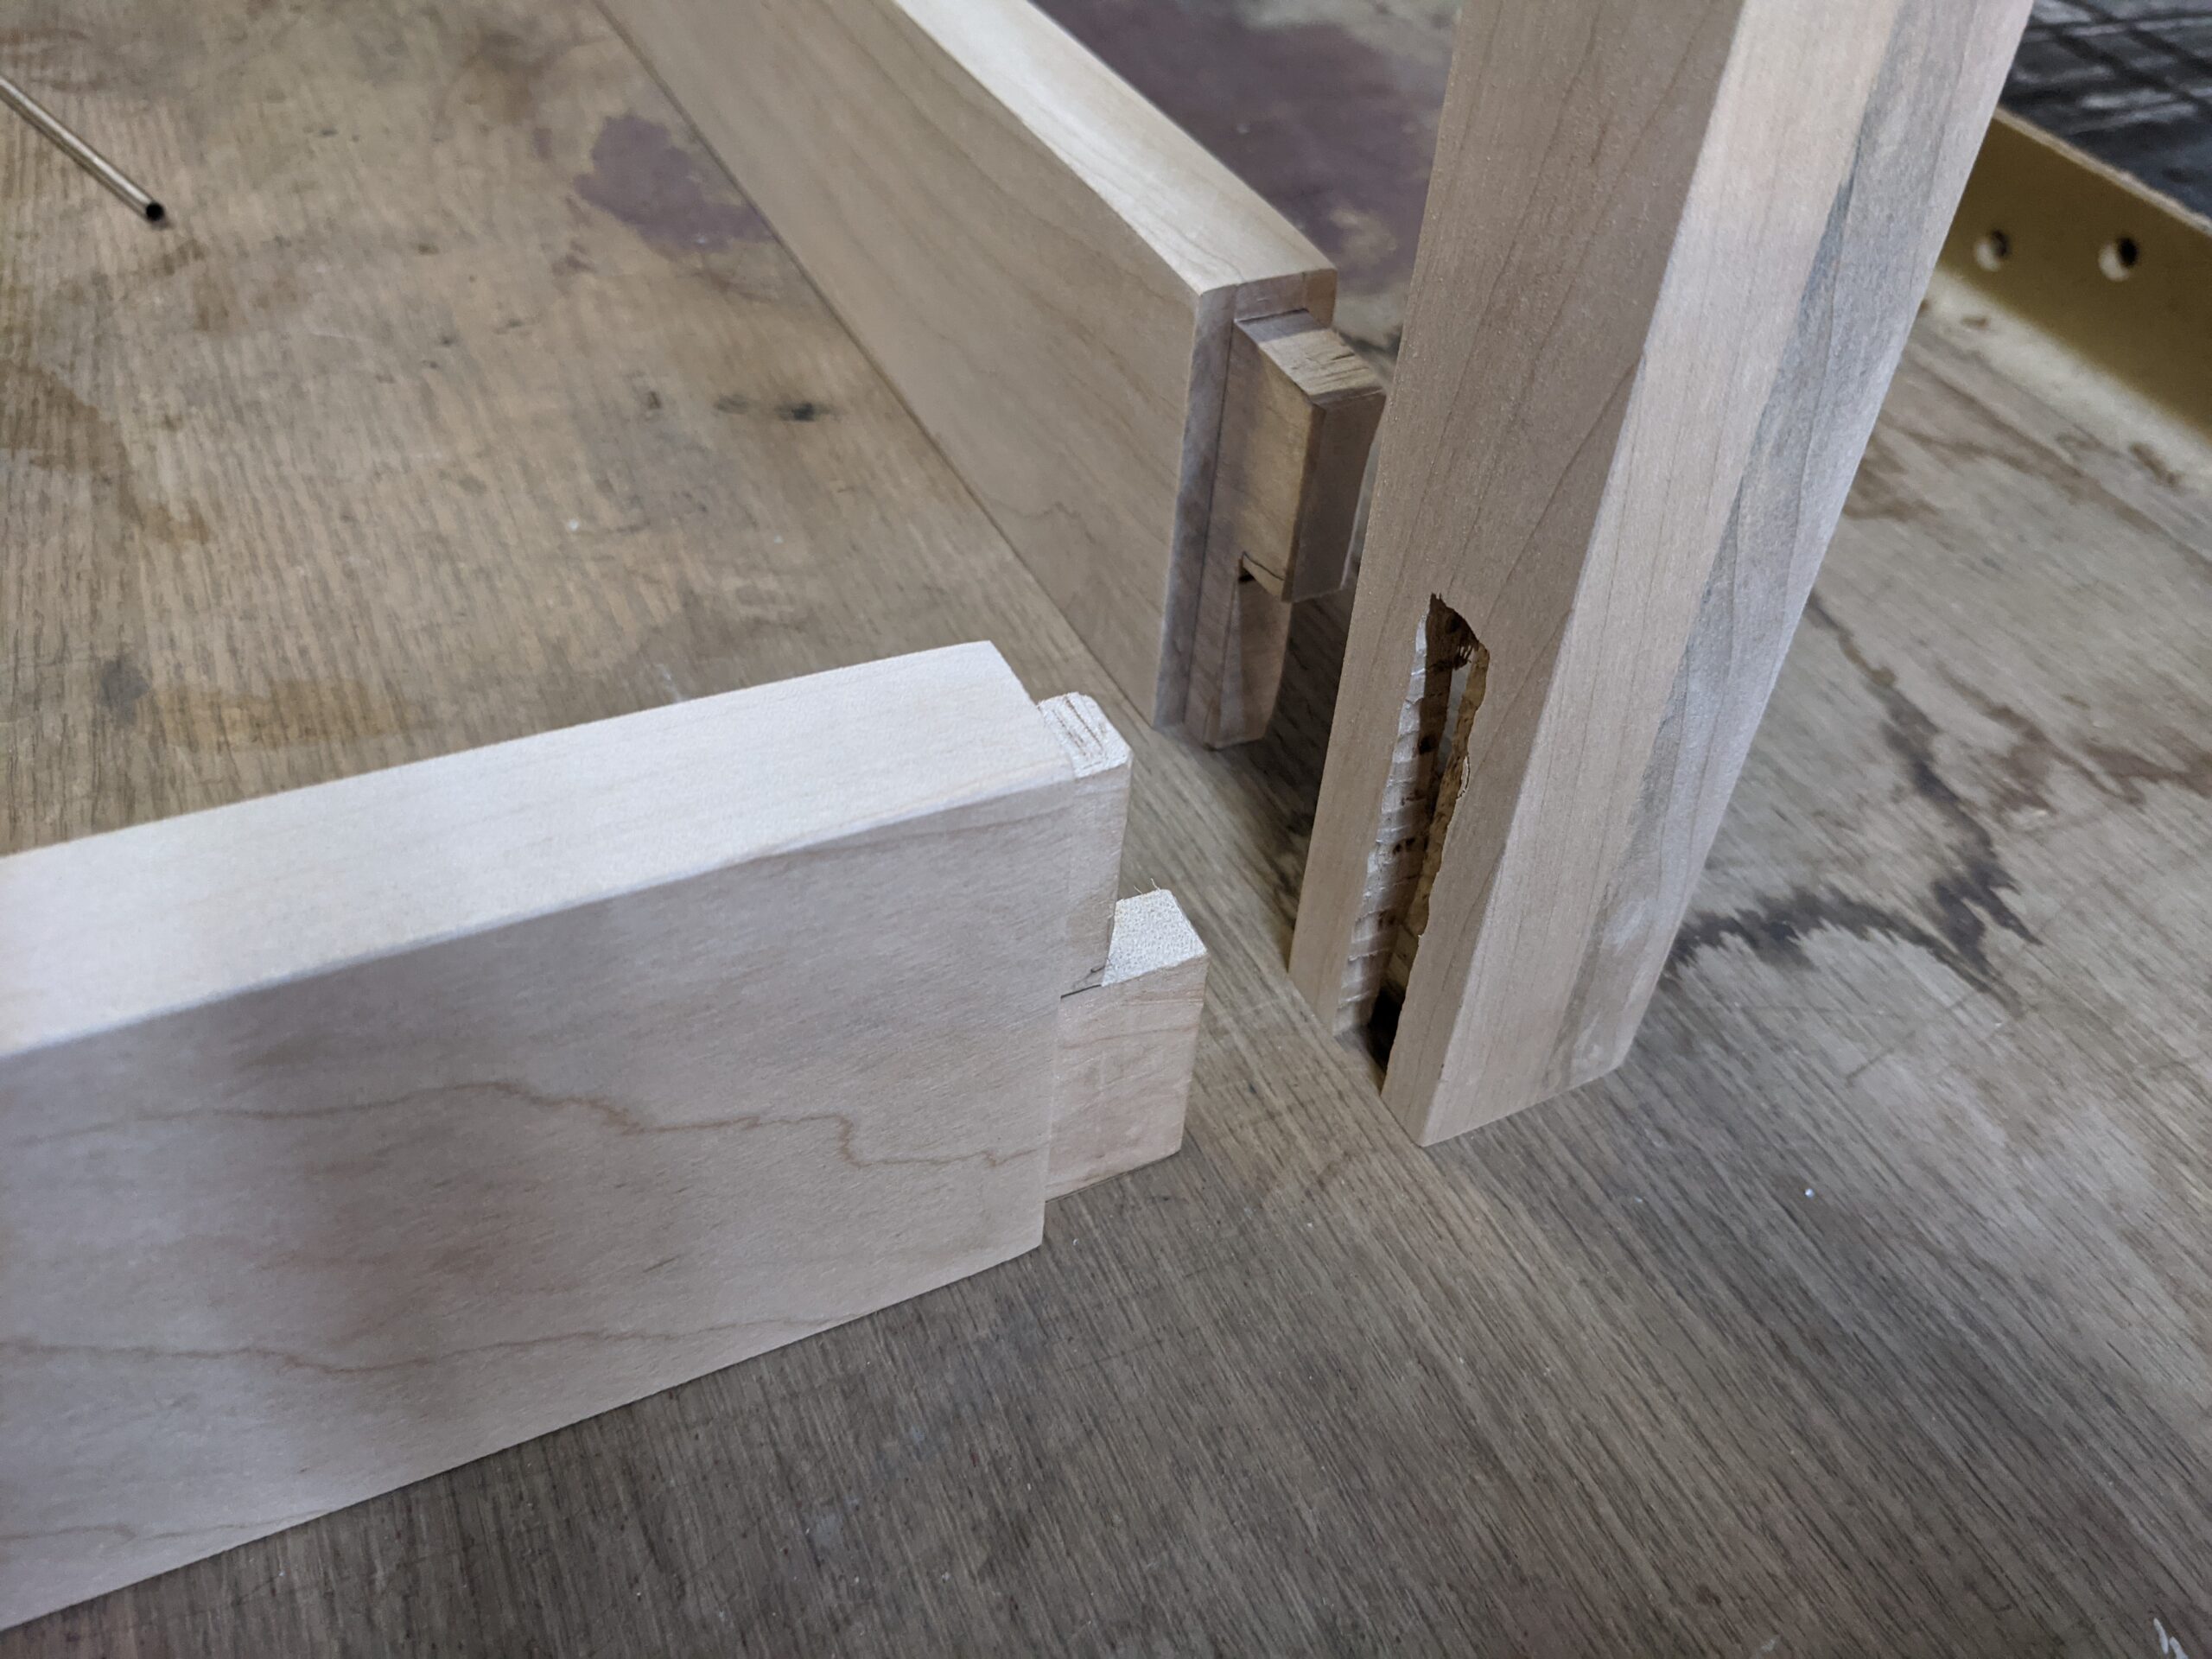
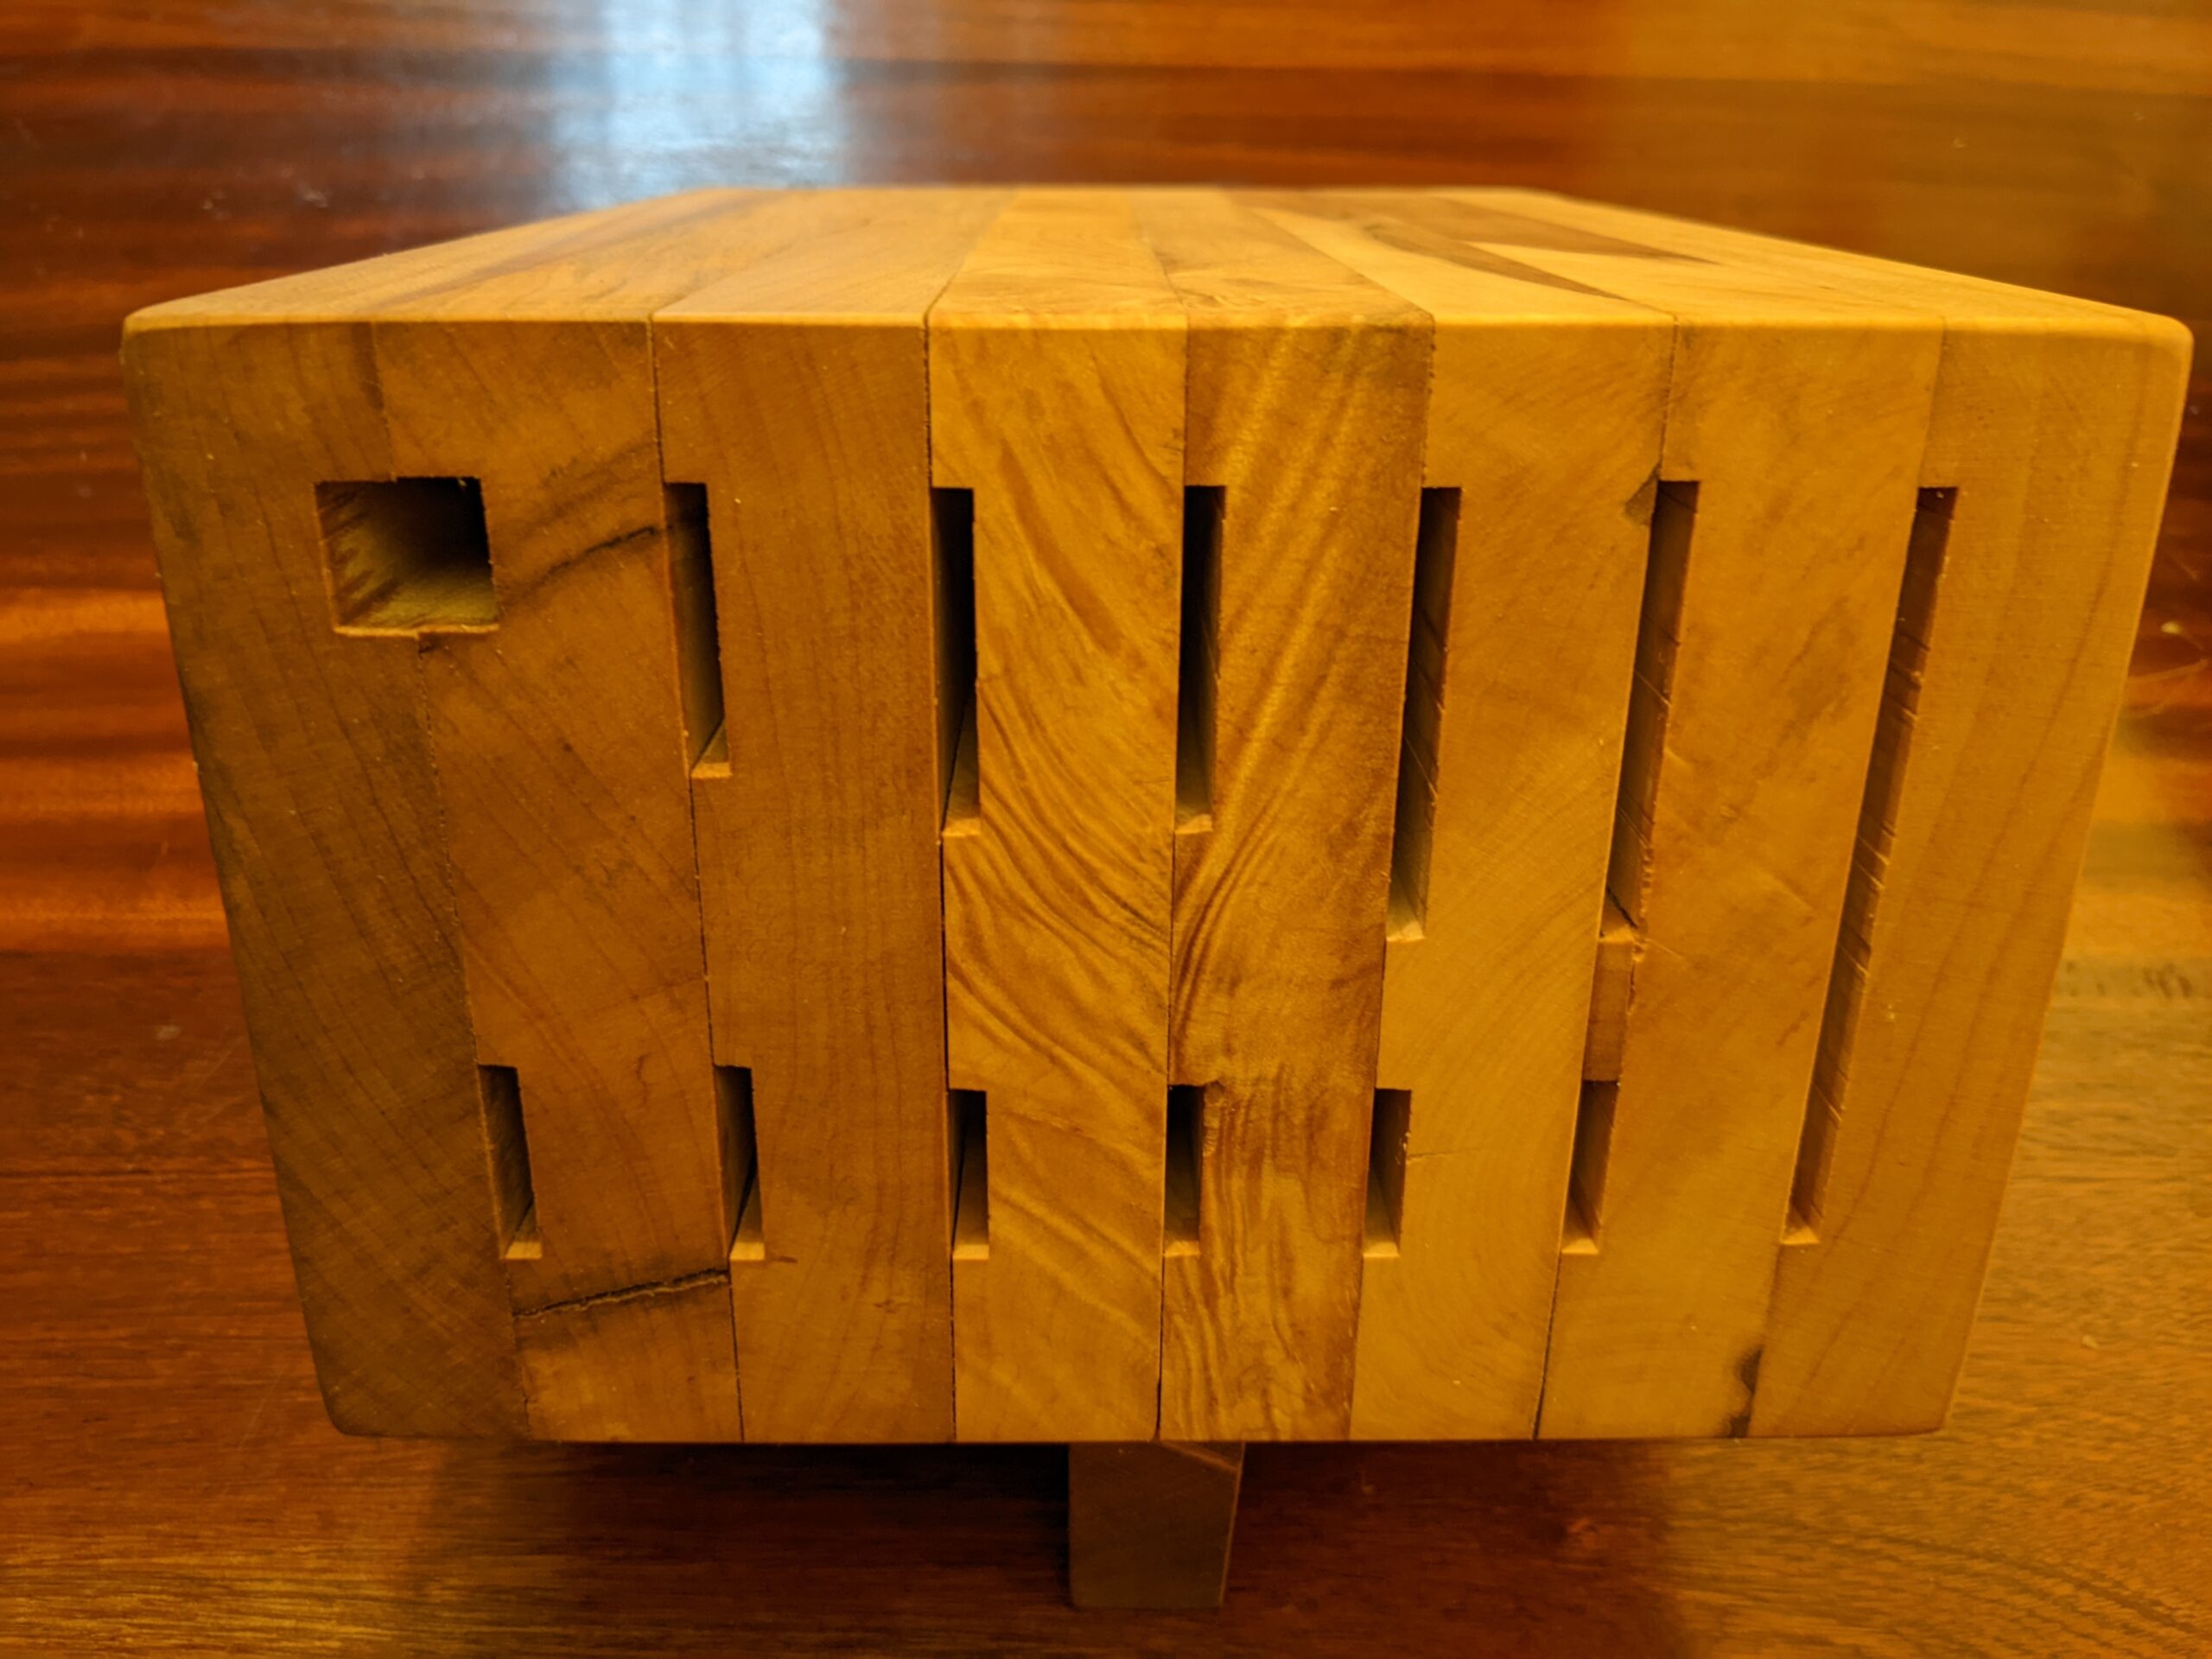
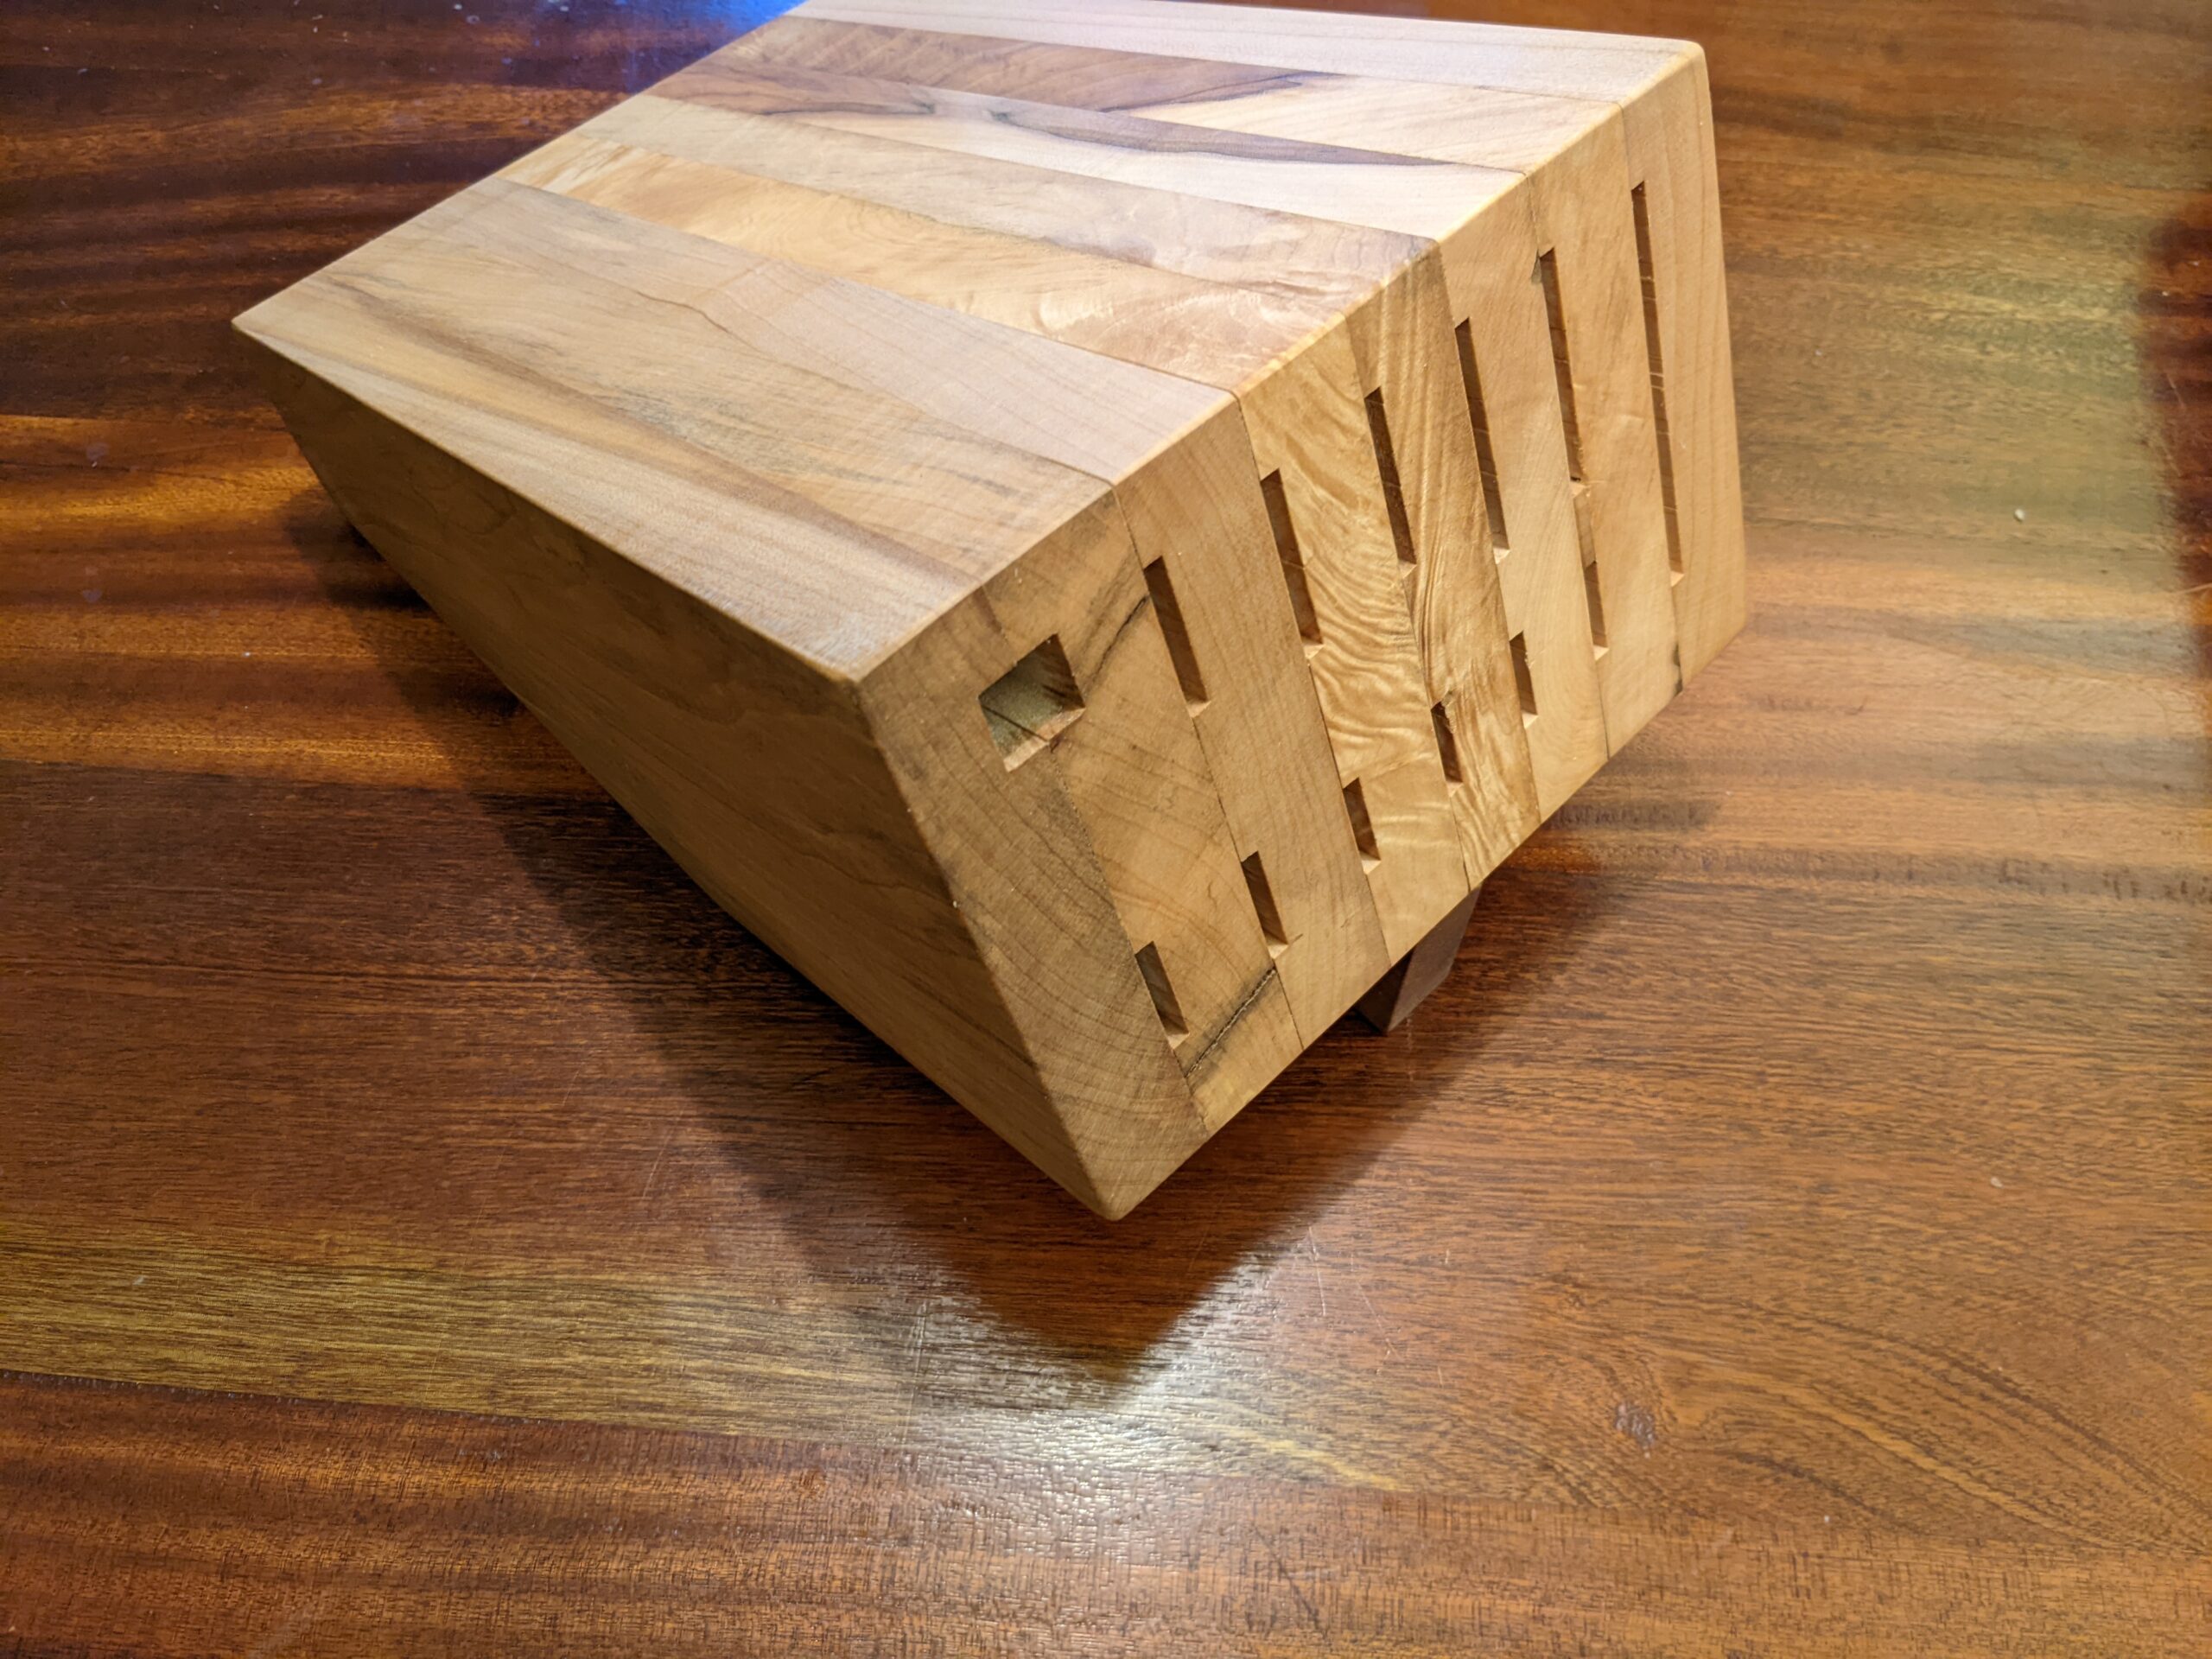
Regarding the woodworking project itself, I wanted to do this from my gut, so I didn’t use someone else’s design or plan. I thought about what I wanted and made a few drawings and built it with materials that I had on hand. The table is very sturdy and rugged. The base is joined with glue and brass screws, using laminated wood to form a mortise and tenon joint on the sides and a lap joint in the front and back.
I will name the table Juliette, after the lead character in Chocolat whose confections delighted and disrupted an entire French community.
In the near future, I might use the space under the table for a proofing box, powered by an incandescent light bulb. This would be a fun project in and of itself.
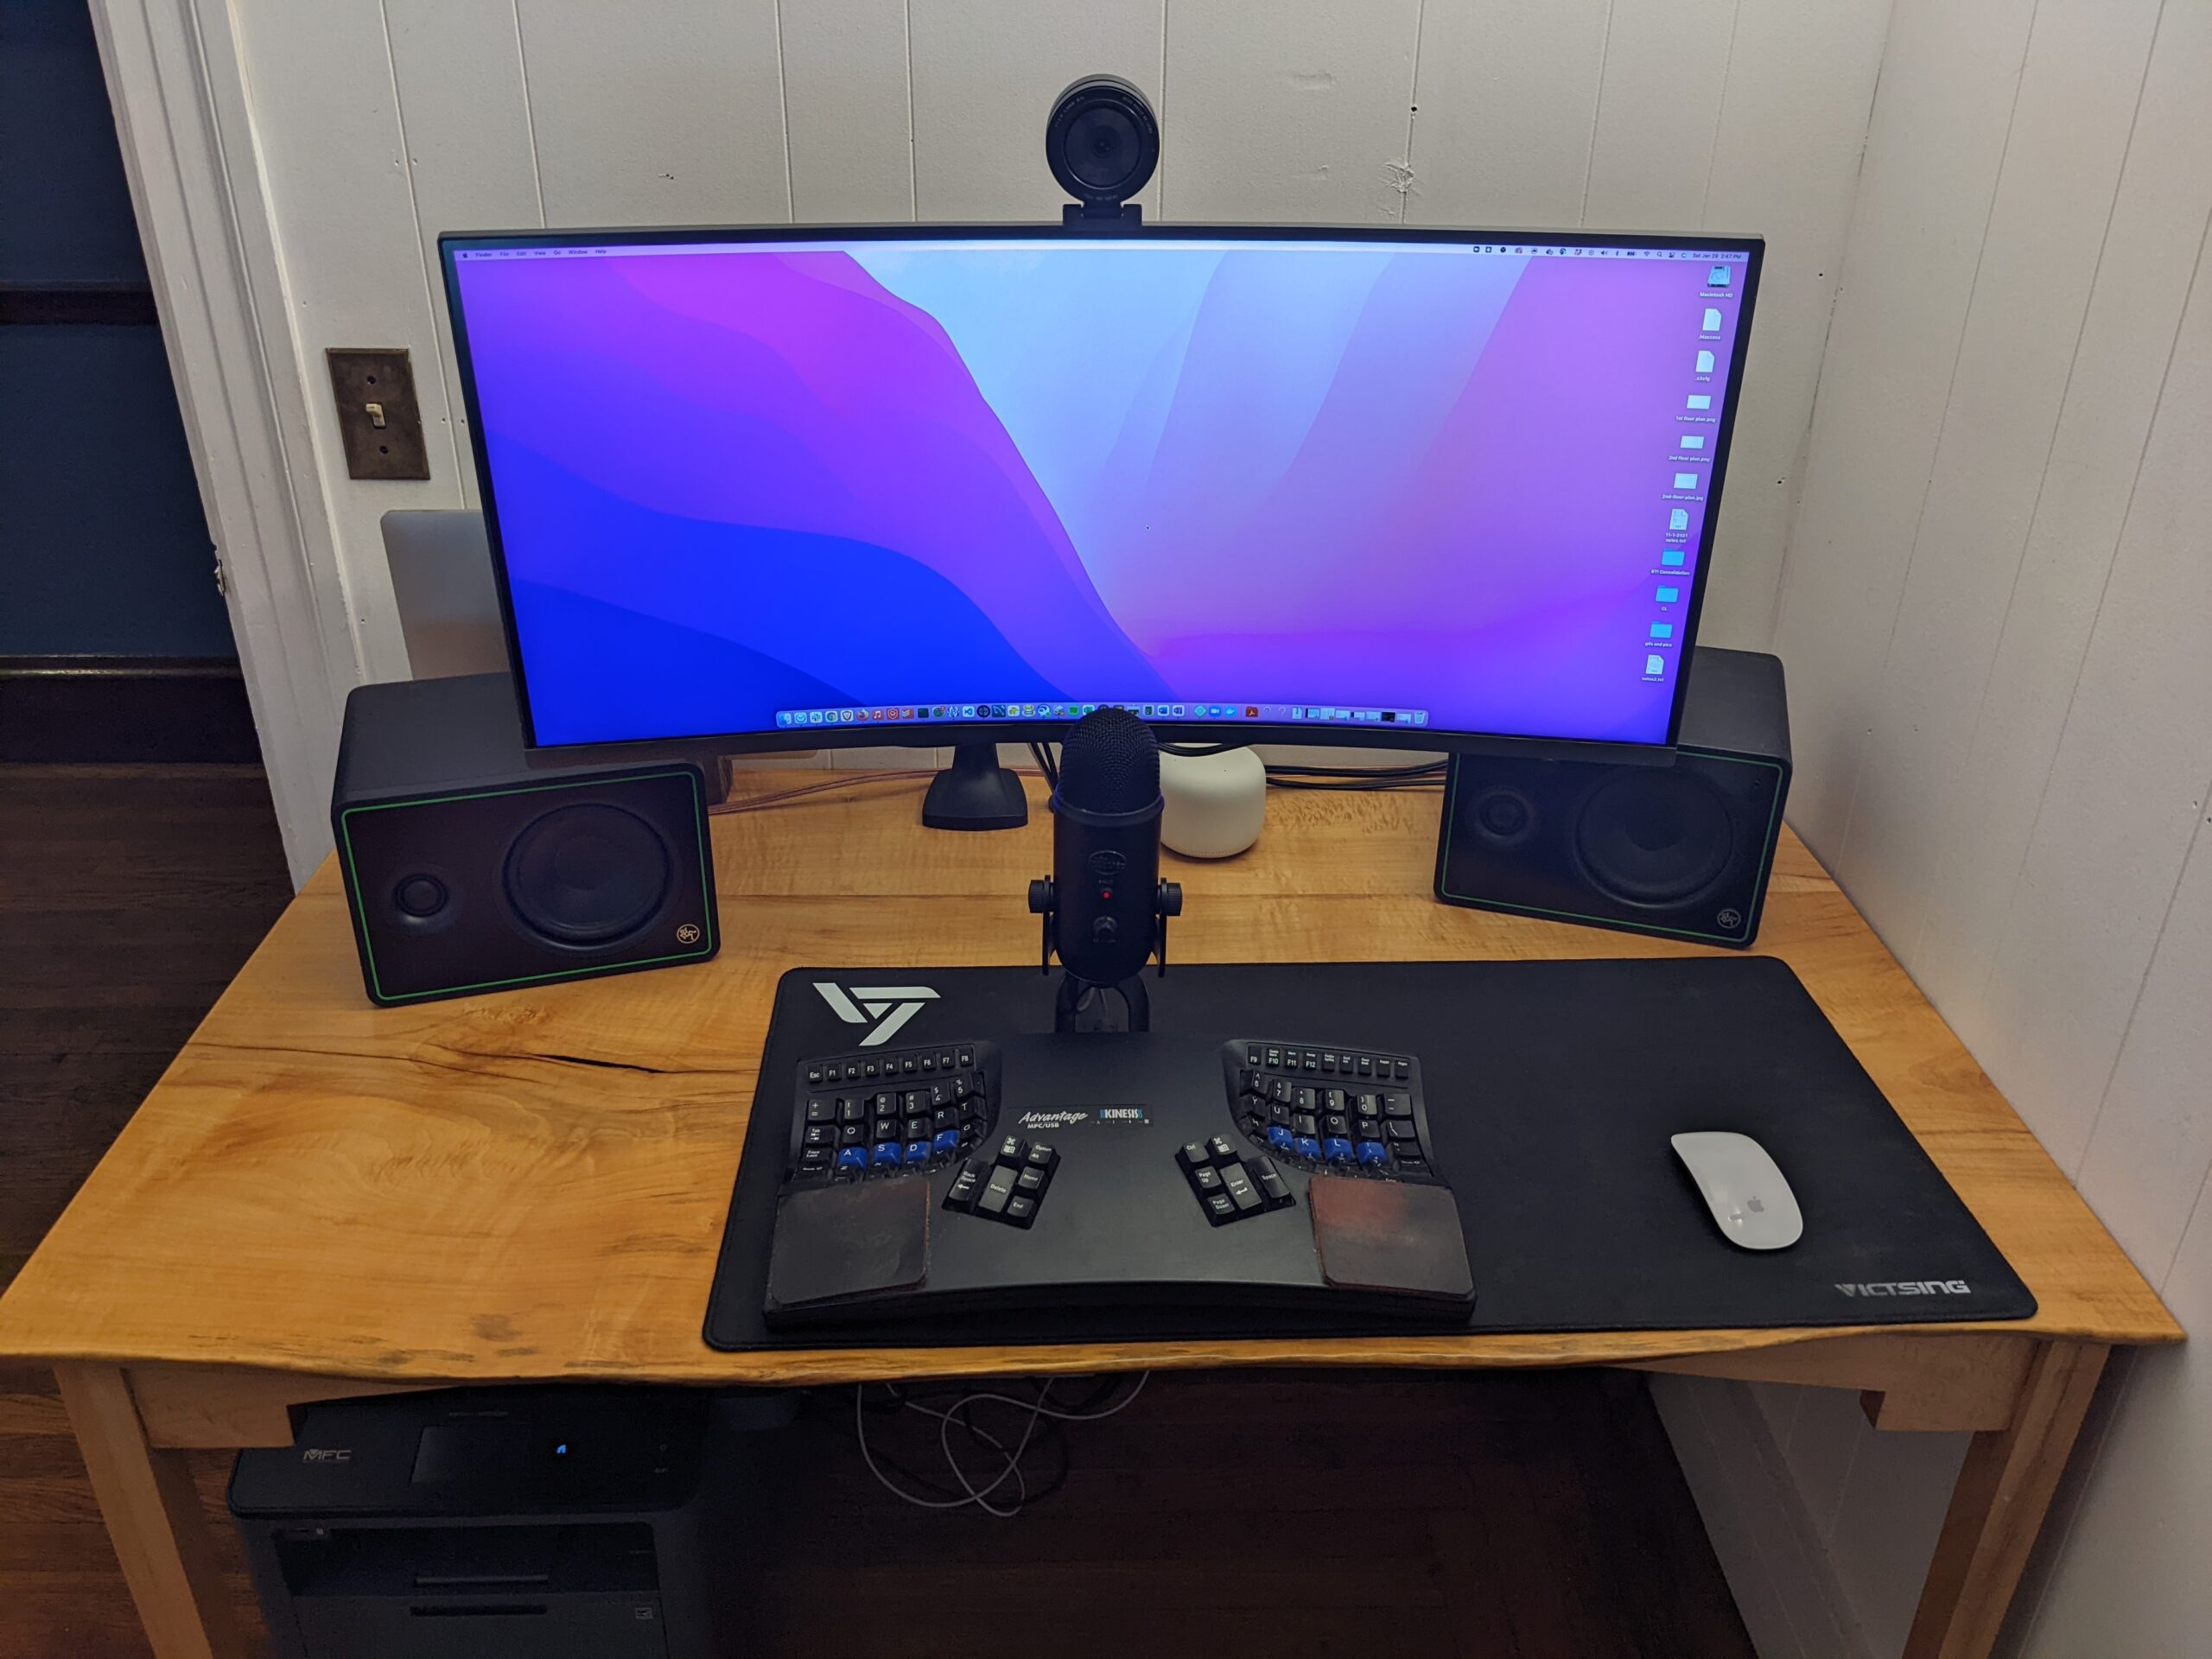
Gratuitous Gallery