According to WikiPedia, “The Raspberry Pi is a credit card-sized single-board computer developed in the UK by the Raspberry Pi Foundation with the intention of promoting the teaching of basic computer science in schools.”
Having three school-aged children of my own, I purchased a pi with the intention of doing some home-based experimentation in computer science. My goals are to start the education by teaching the kids web publishing and development skills and to create a Network Attached Storage (NAS) for our mp3 collection to make storing and sharing music easier.
Since my goals involve using the Pi by accessing it from the network, once the initial setup is done, I don’t need a monitor, keyboard and mouse to use the pi. This configuration is called “headless”.
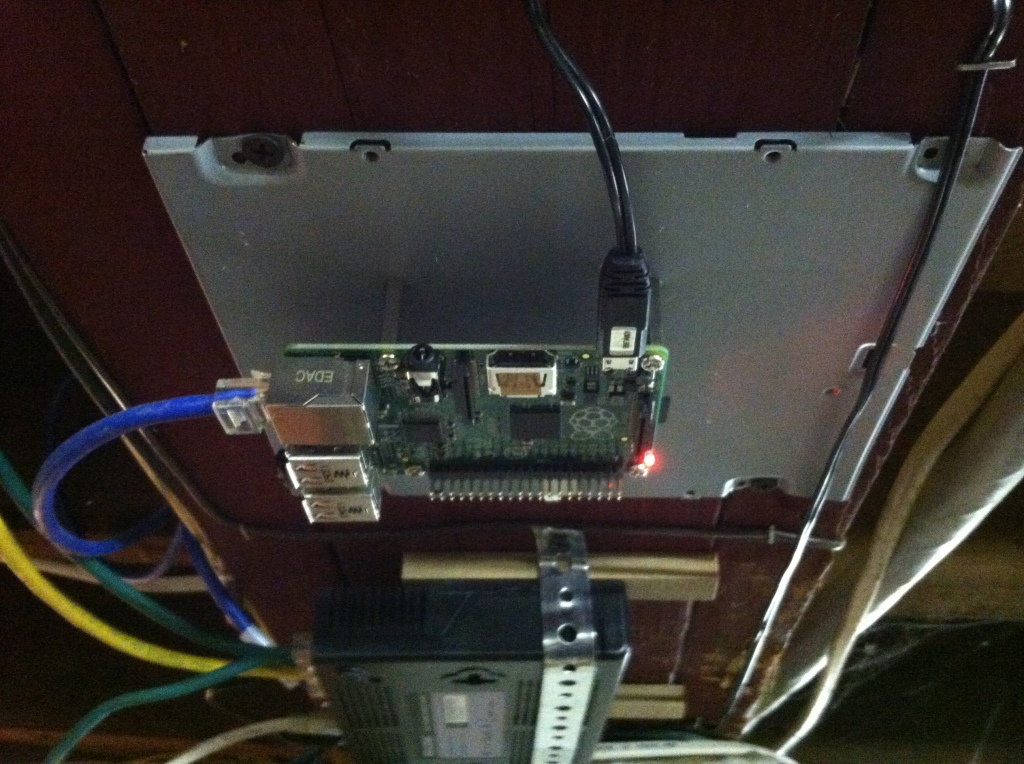
I selected the Raspbian image from the downloads page because it seems the best for headless server. I bought some 1″ standoffs at radioshack and screwed them into an old cd-rom case cover and screwed that into the ceiling of my basement, near the network switch.
Initial Setup Steps
I downloaded the OS image to the home folder on my mac as raspbian.img. From there, I opened a terminal to copy the image to the SD card. The commands are below. My comments to the commands are preceded by “#”.
# Identify the disk (not partition) of your SD card e.g. disk4 (not disk4s1):
diskutil list
# mine is disk1, so I do this:
diskutil unmountDisk /dev/disk1
# go to the home folder:
cd
# copy the image to the SD card. This command takes around 20 minutes to complete:
sudo dd bs=1m if=raspbian.img of=/dev/disk1
My next step was to test the router and make sure that its firewall was enabled. This system will only be accessible from the home network.
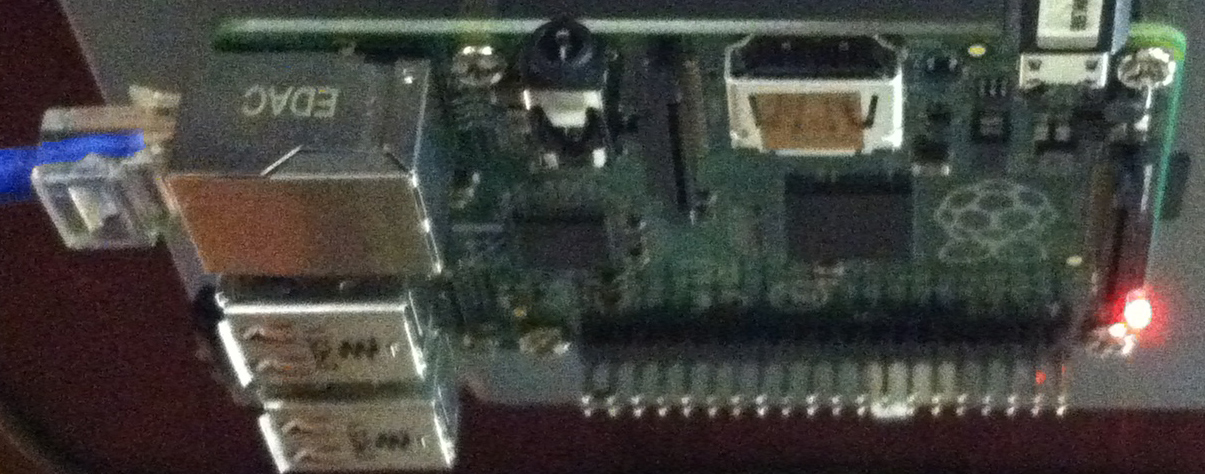
Now that I have an SD card with the Raspbian image on it, it is time to do the first boot of the Pi. I found this part pretty easy, so I’ll be brief. I connected a keyboard, mouse and monitor to the Pi and inserted the SD card and plugged in the power supply (an old cell phone charger). The setup is interactive. I just made my choices and rebooted. Everything worked fine and I shut down the pi, removed the peripherals and started it up again in headless mode.
Install a Bunch of Applications
The next step is to log into the pi from a remote machine. That is done with ssh. Once you have SSH’d in, you can run a few commands to update the system and install a bunch of applications. Since the system installed is Debian, we will use the apt package manager. I prefer the newer version of apt-get, aptitude.
#become super-user
sudo su
aptitude update
aptitude safe-upgrade
aptitude install apache2 php5 samba samba-common-bin
#I like to do this in two steps
aptitude install php5-gd php5-imagick php5-cli members git php5-curl curl libcurl3 libcurl4-openssl-dev chkrootkit fail2ban exfat-utils exfat-fuse
Mount Some Storage
The next step is to install the thumbdrive and mount it. I like to to use exfat for the thumbdrive format. As you can see in the prior installation commands, I installed some tools for that. Now I need to program the Pi to mount the thumbdrive to a folder on bootup.
sudo su
mkdir /media
sudo blkid
//read output and find drive: /dev/sda1: LABEL="SANMICRO" UUID="53FE-724F" TYPE="exfat"
//get tthorp uid
egrep -i "tthorp" /etc/passwd
//get thorps gid
egrep -i "thorps" /etc/group
//set mounting options
sudo nano /etc/fstab
//add this:
/dev/sda1 /media exfat auto,users,rw,conv=binary,uid=1001,gid=1007,dmask=002,fmask=113 0 0
More Configuration
From this point, I did configured Apache, SSH and Samba, but those steps have less to do with the Raspberry Pi and more to do with standard server configs, so I am not listing them here. Perhaps another post…